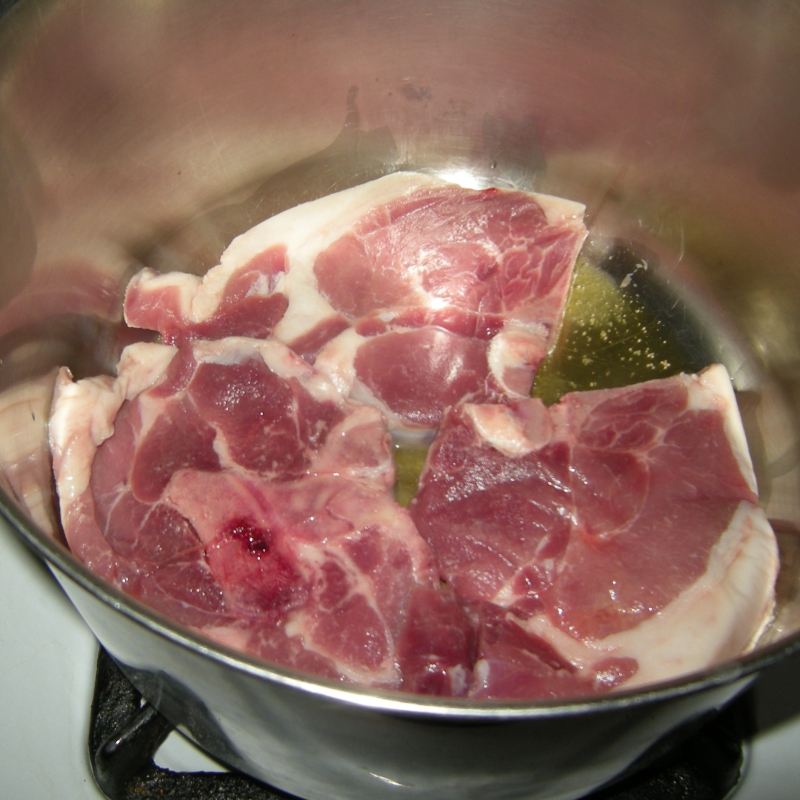
Osso Buco is a slow-cooked beef dish, made with meaty shank soupbones, or at least with a fatty meaty cut of beef. Recently I wondered how would it taste to make the same dish with a meaty, fatty cut of pork. I found some pork chops with a nice rim of fat and used them in place of the beef in the Osso Buco recipe. The dish turned out really well. Here is the recipe with pork:
2cupsbrothchicken or beef, use up to 2 cups, as much as your pot will hold
Method
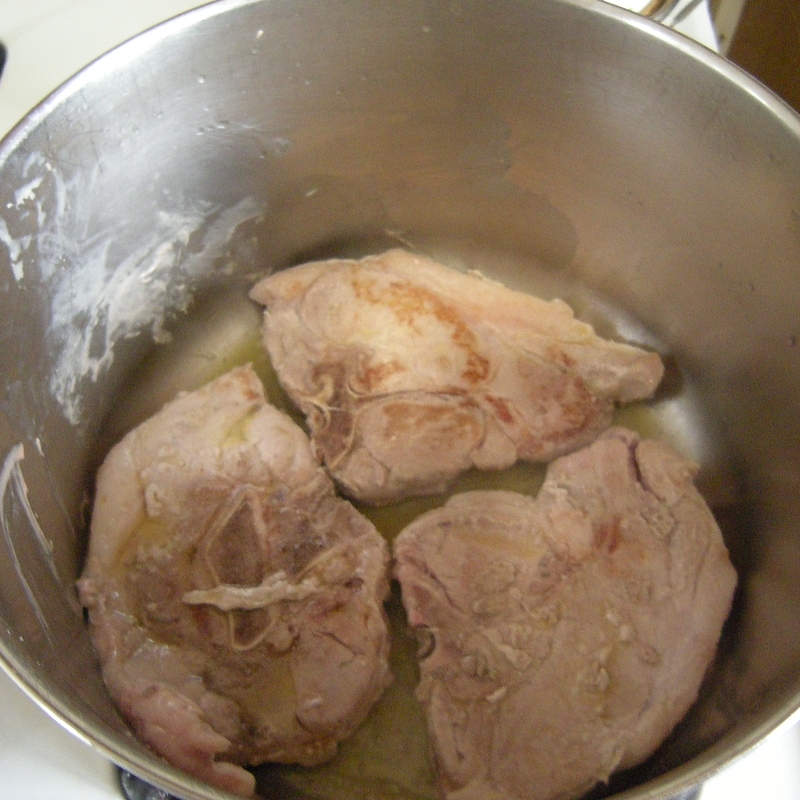
Brown pork chops in oil for 3-4 minutes on each side in dutch oven. Remove from pot.
Saute the fresh veggies. Add oil if needed.
Put the meat back in the pot under the veggies. You do this by pushing the veggies to the side and putting the meat down, then covering the meat with the veggies.
Cover with diced tomatoes. Add broth. Cover pot. Bring to a boil, turn to low, and simmer for 2-3 hours.
Take meat out, cut into fine pieces or shred. Cut fat into small pieces. Add back to pot and stir it all together.
Serve as is or over rice or potatoes.
Notes
Enjoy!
Brown pork chopsOn both sidesSaute veggiesPut pork chops with veggies and simmer 2-3 hours
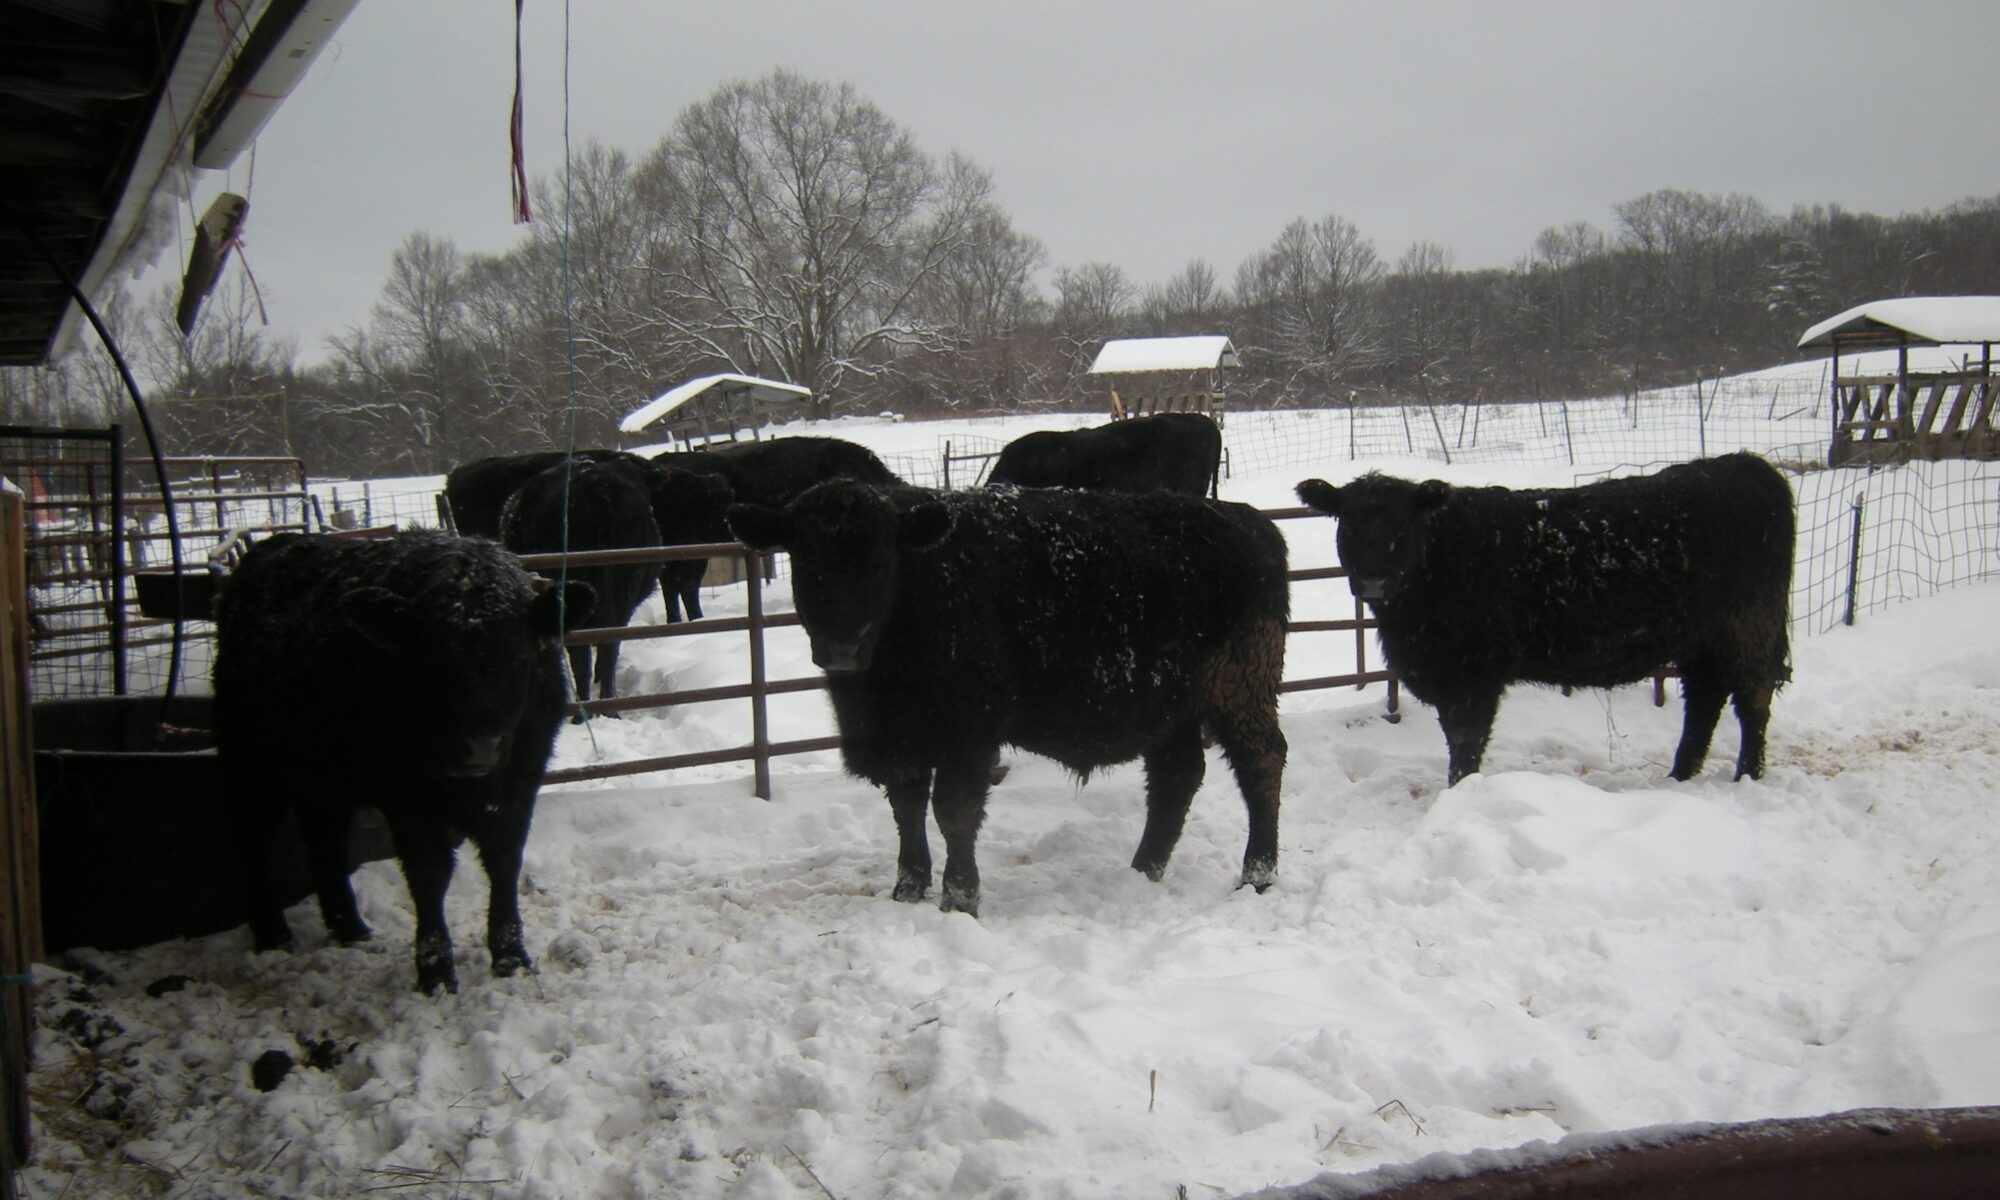
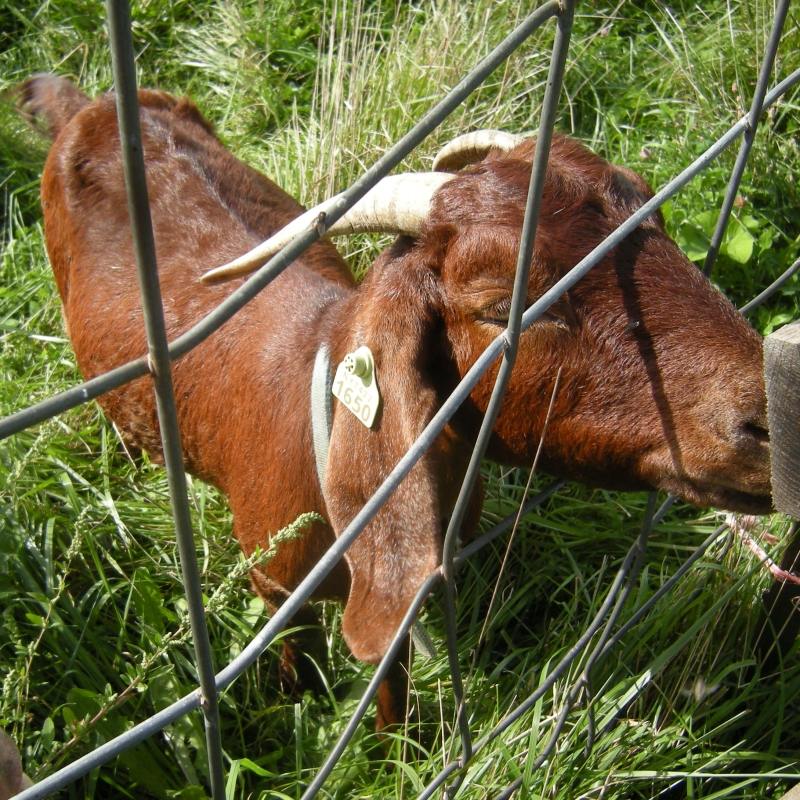
As the weather changes, we bring the animals closer to the barn making it easier to provide the food and water they will need throughout the winter.
This lets us see when the cows are in heat (ovulating and receptive to being bred.) Once they are in standing heat (when mounted by another cow, they stand still and don’t run away), we have the AI guy come (artificial insemination) and get them bred to Angus. The current Angus bull that the semen comes from is named Brickyard. So far we have bred 2 cows and will breed 2 more in the next month.
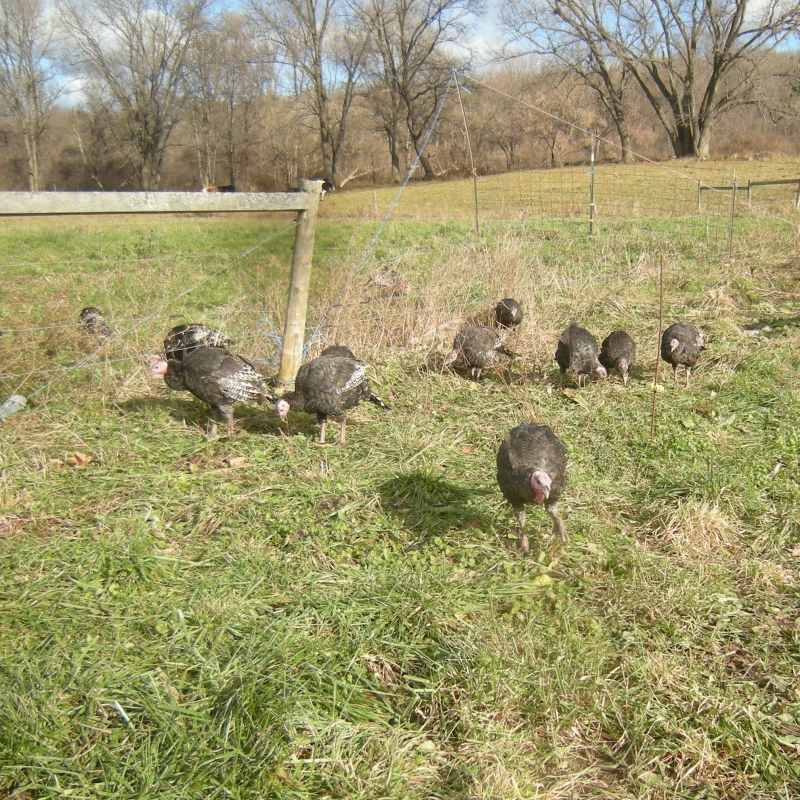
The turkeys were not big enough for Thanksgiving. And one night we had a dog get in and kill a lot of them. But the ones left are doing well. We will be processing them later this month. Email us if you are interested in purchasing one.
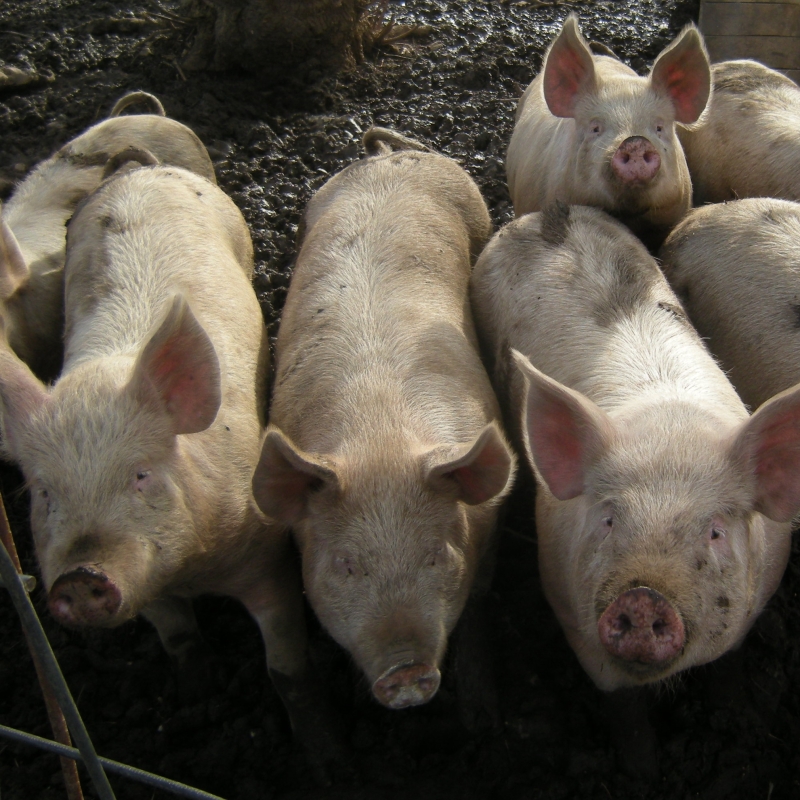
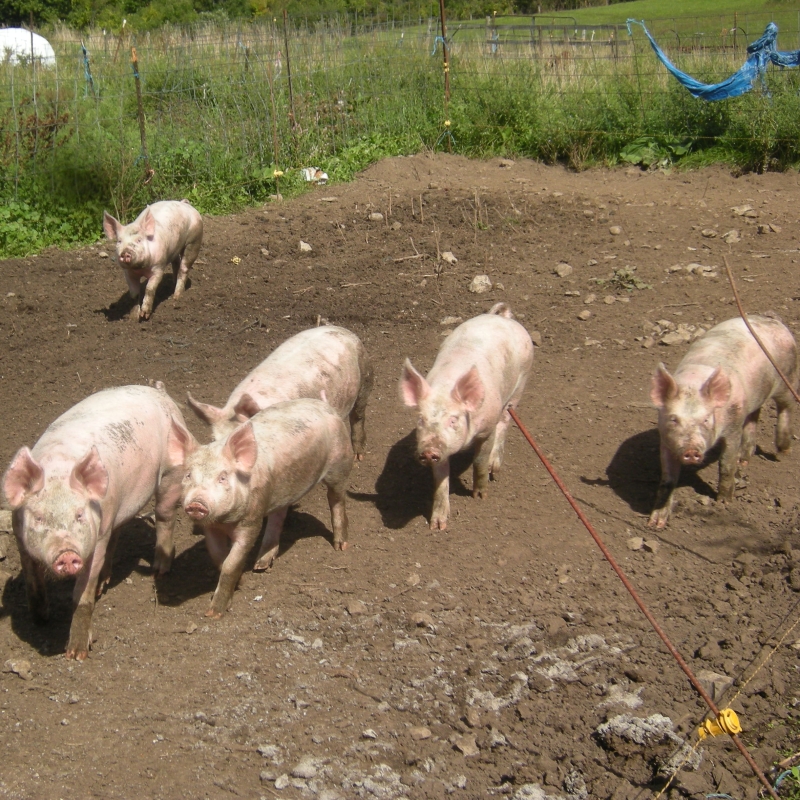
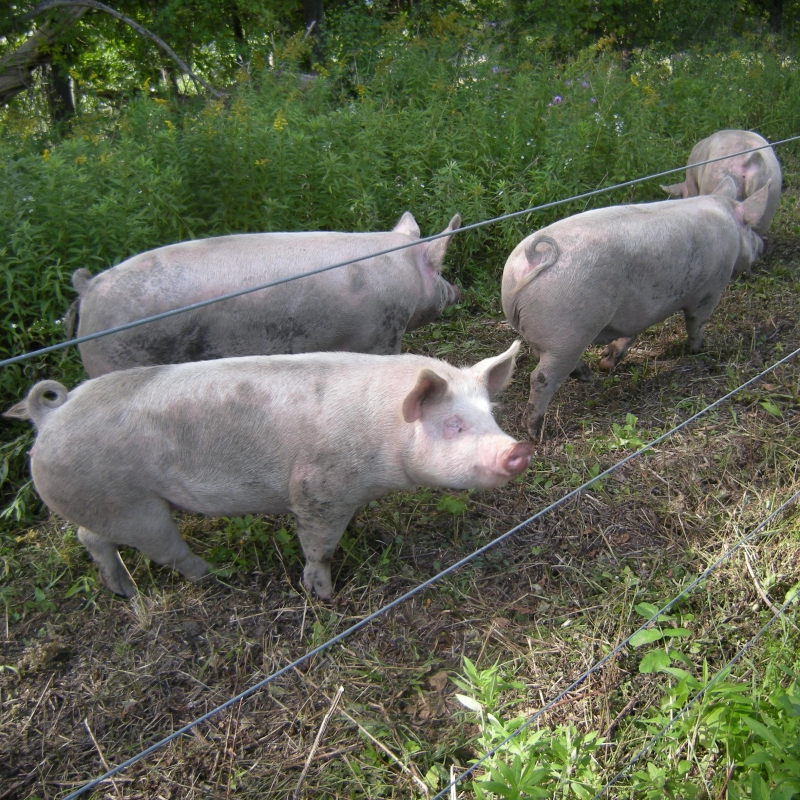
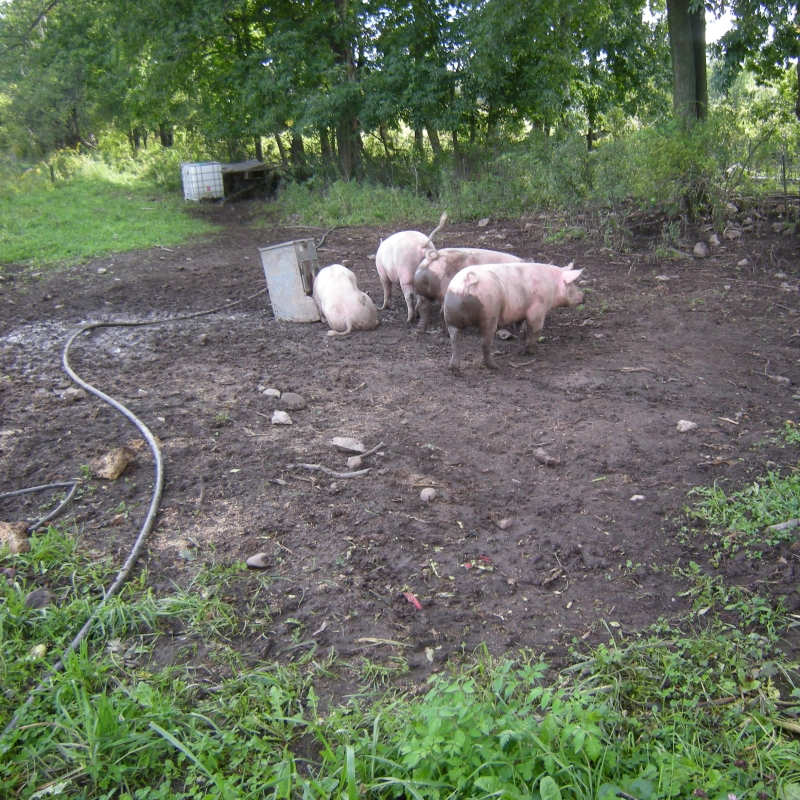
We have another batch of pigs to head to the butcher in January. These were born and raised here. Like all our animals these have been raised outdoors. They are fed organic grains and day-old produce for a local organic grocery store. They will make tasty pork! Contact us if you are interested in a half or whole pig.
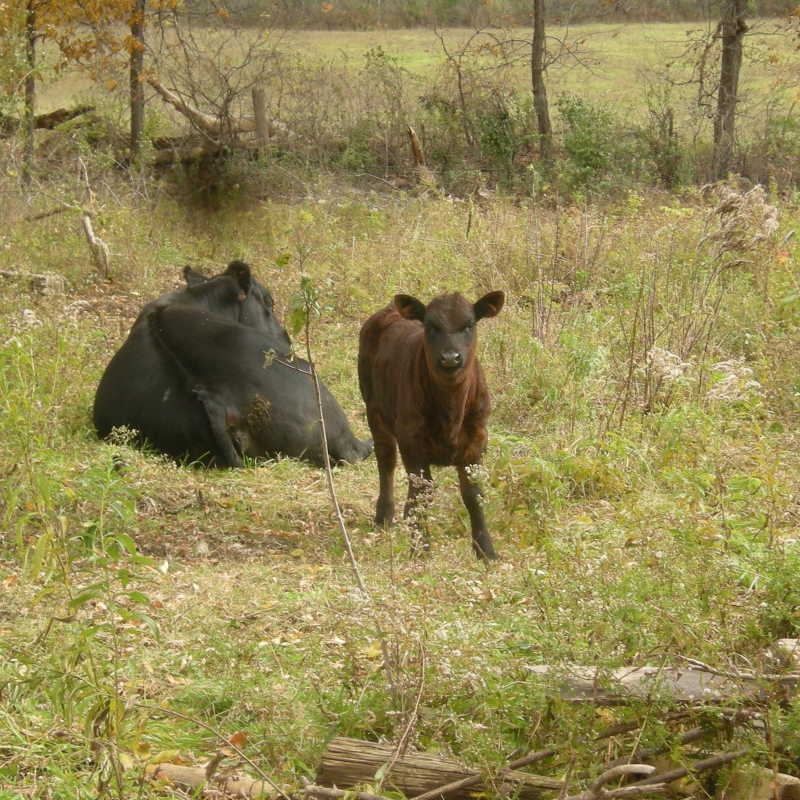
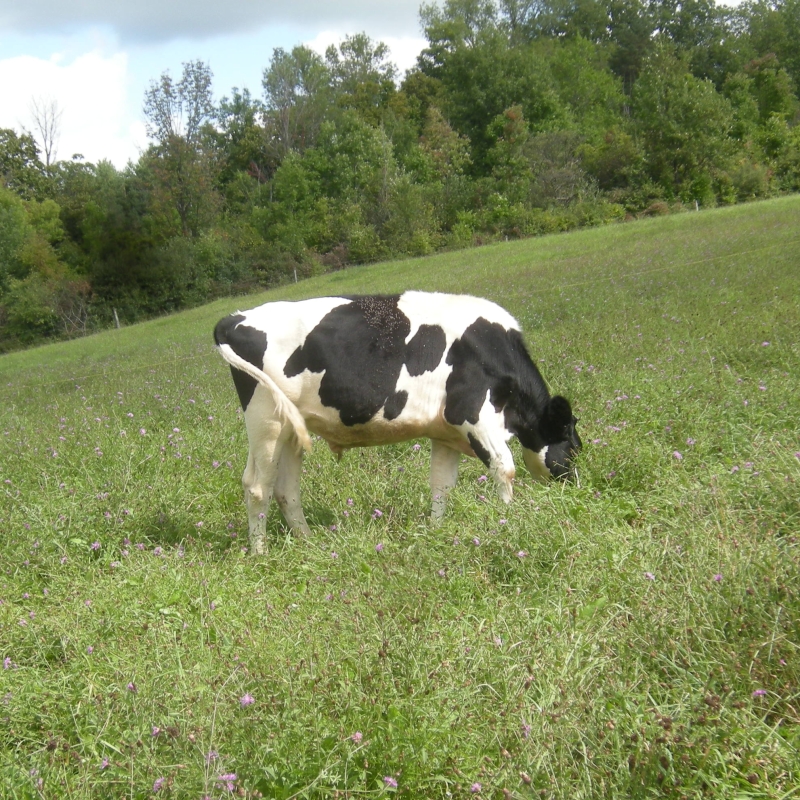
We will have quarters of beef available in late January. This cow has been raised on grass and hay. While not certified organic, it has been raised outdoors and fed the way cows are meant to be raised, in the sunshine with other cows getting fresh air and grass. Contact us if you are interested in a quarter side of beef.
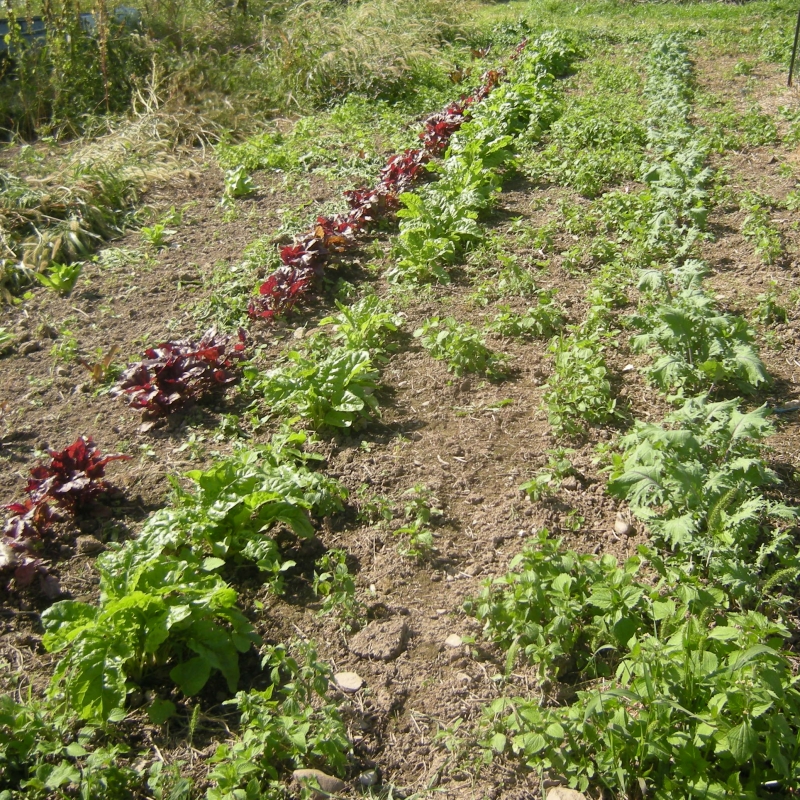
We have several varieties of potatoes available in bulk: yellow skin with yellow flesh, red skin with white flesh, and russet with white flesh. These are available for $1.25/lb for 10+lb. either by one variety or mix-and-match. Contact us if interested.
Last week we had a flood down the property, through the barn and the basement, on the driveway (the pic here) to the road and down the street. Lots of water! We still have some basement things to wash and put away, but things are getting back to normal.
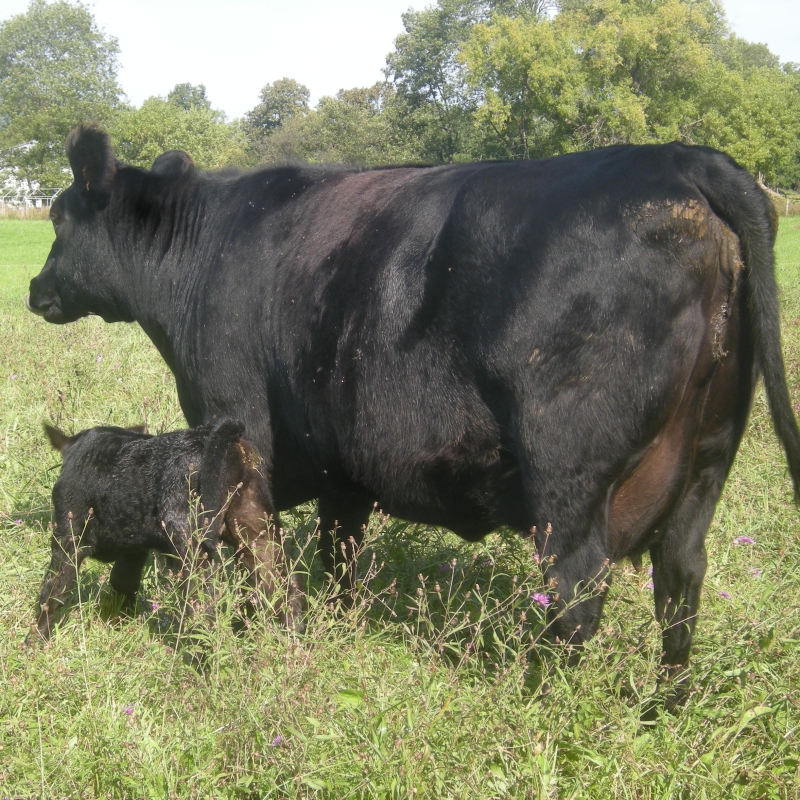
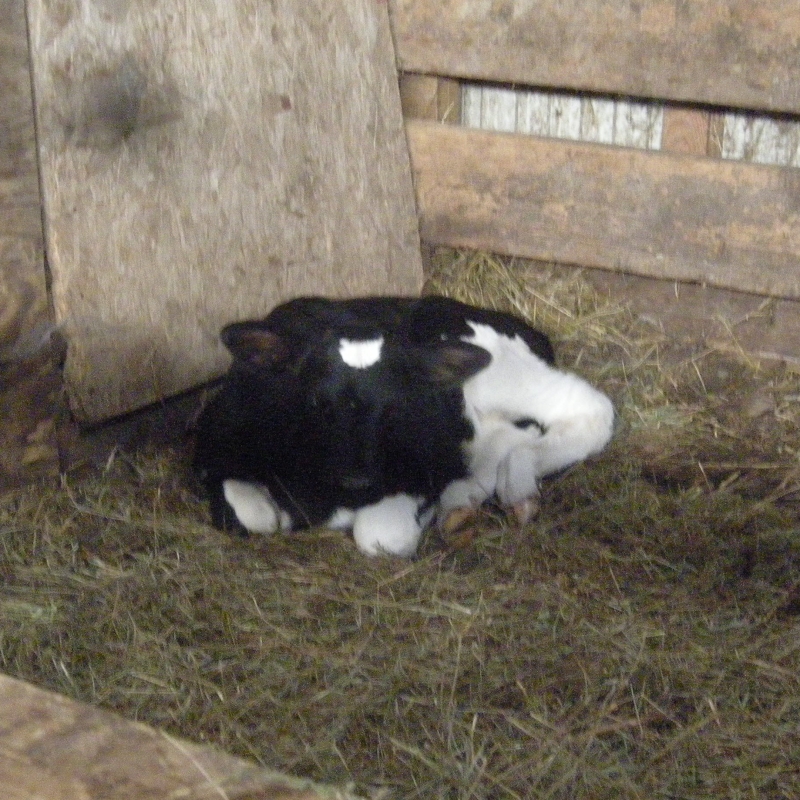
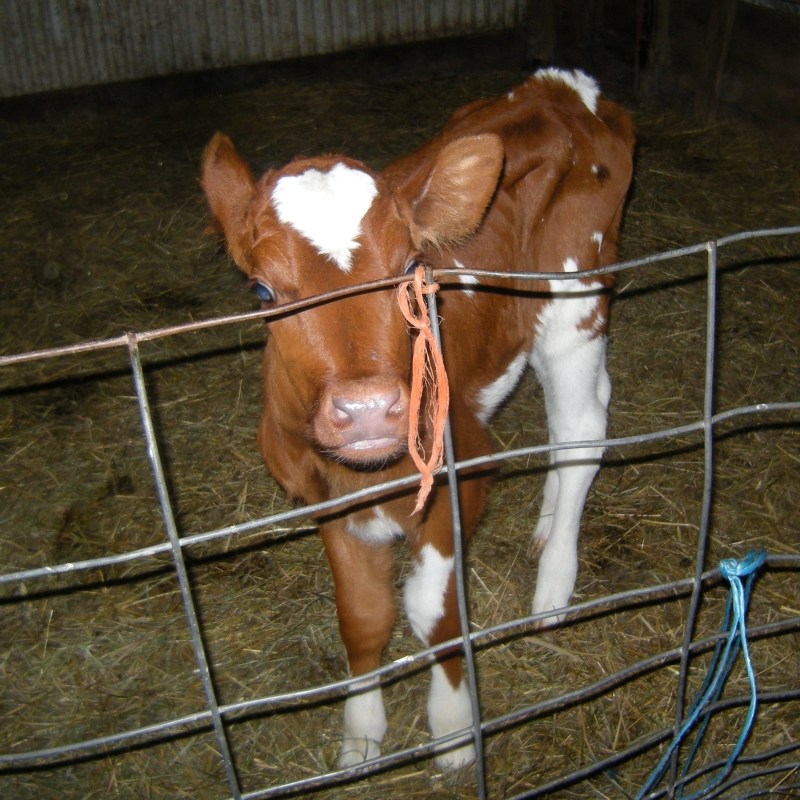
The calves are growing up. Nothing quite like their mother’s milk and fresh air and sunshine to help them grow.
Malegra’s calf
Butter’s calf
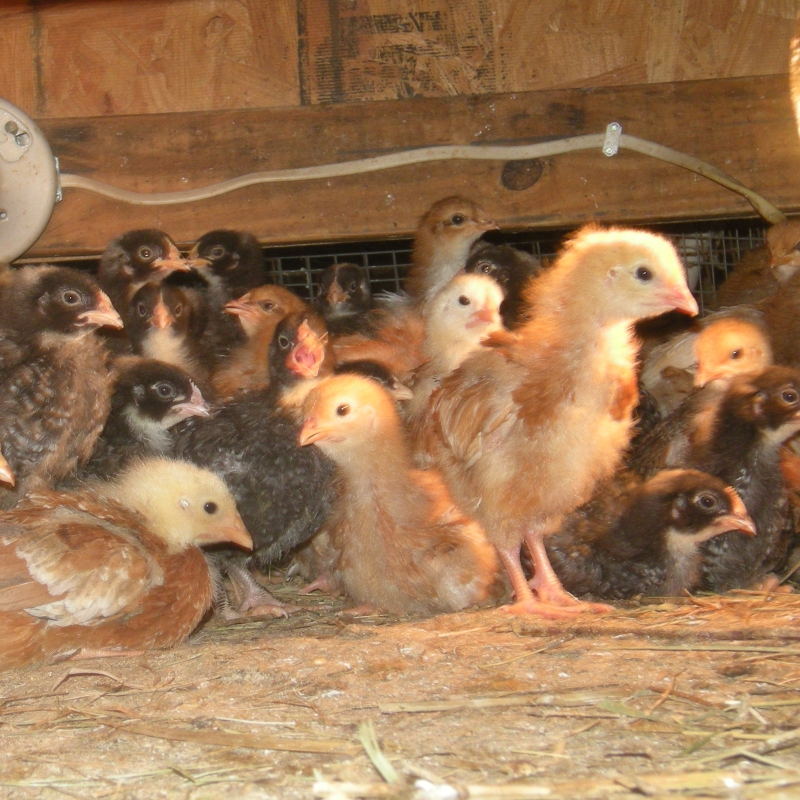
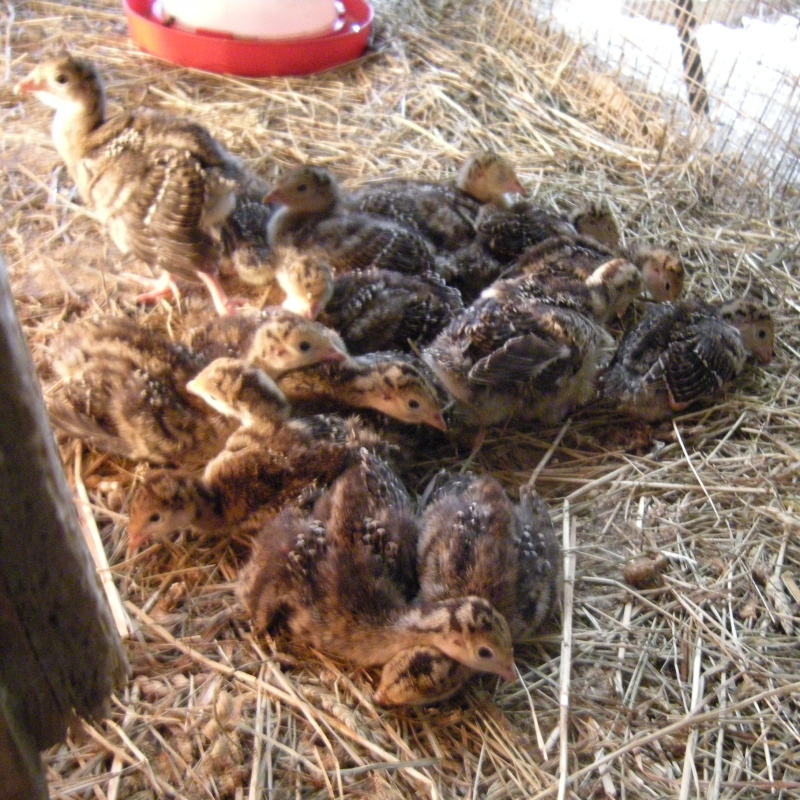
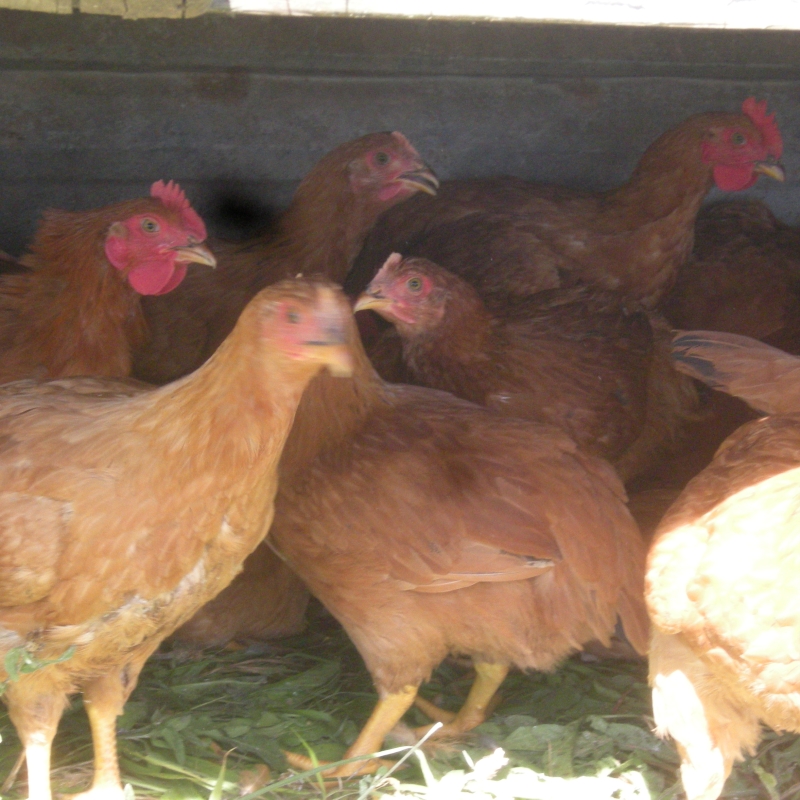
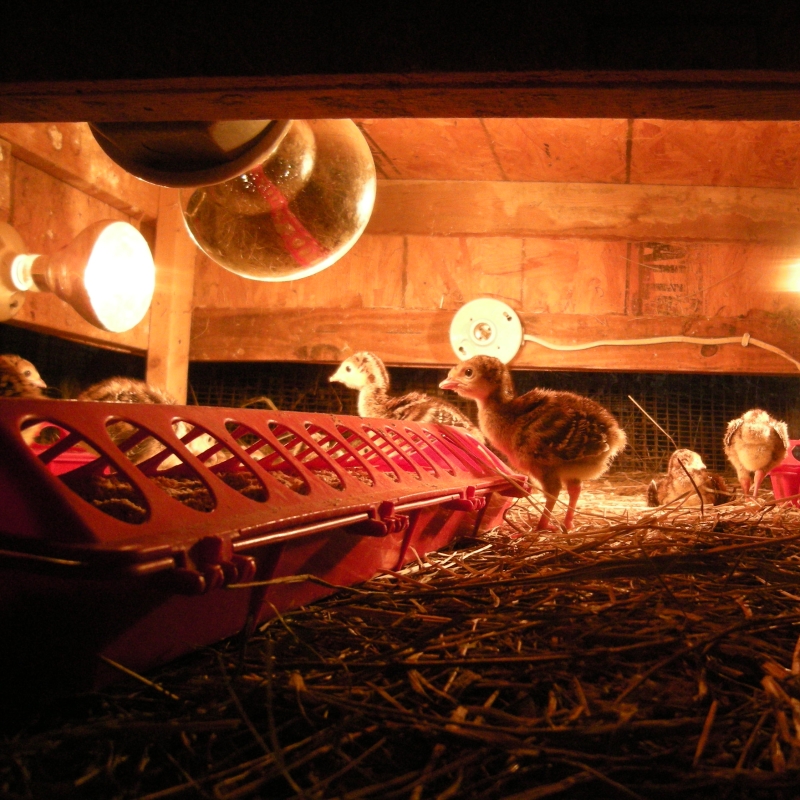
Baby chicks are here. Yes, it is late in the year, but in six months they will be laying eggs, Lord-willing. We purchased the brown egg layer assortment, which includes Rhode Island Reds and Barred Rocks. They are feathering out and will soon be able to move out of the brooder.
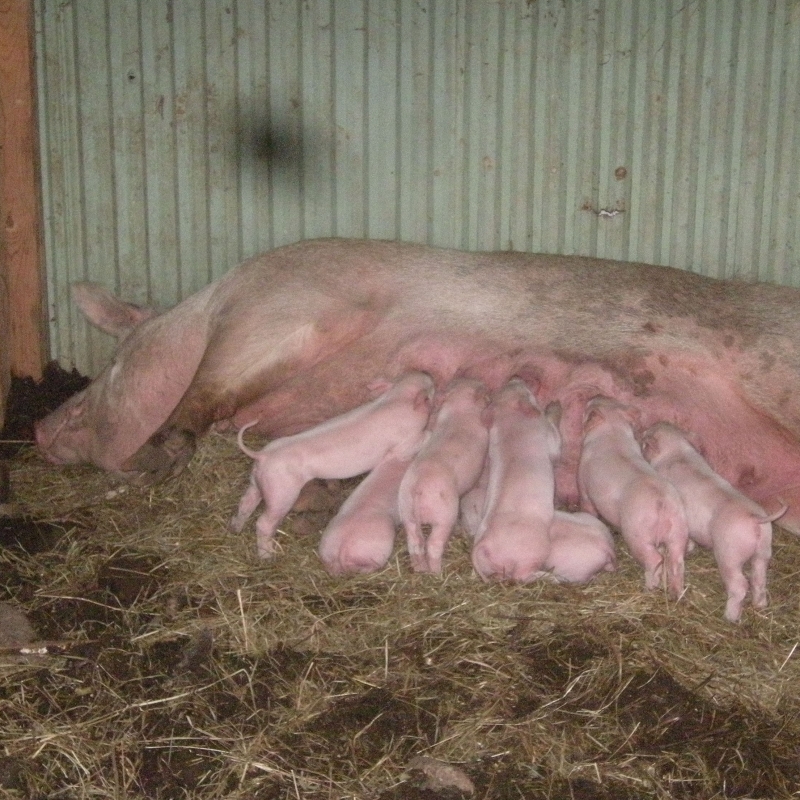
One of the sows gave birth the day after the flood. She carried seven piglets and all seven survived. She is a good mother, grunting to tell the piglets to come and eat and letting them snuggle next to her and each other to keep warm.
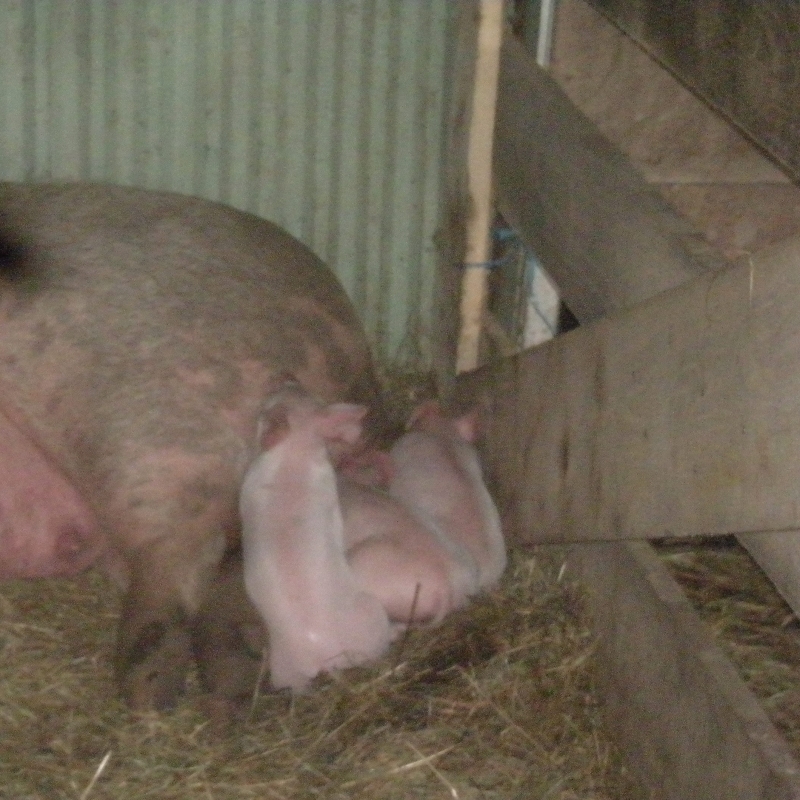
Piglets snuggling at the front
Piglets snuggling at the back
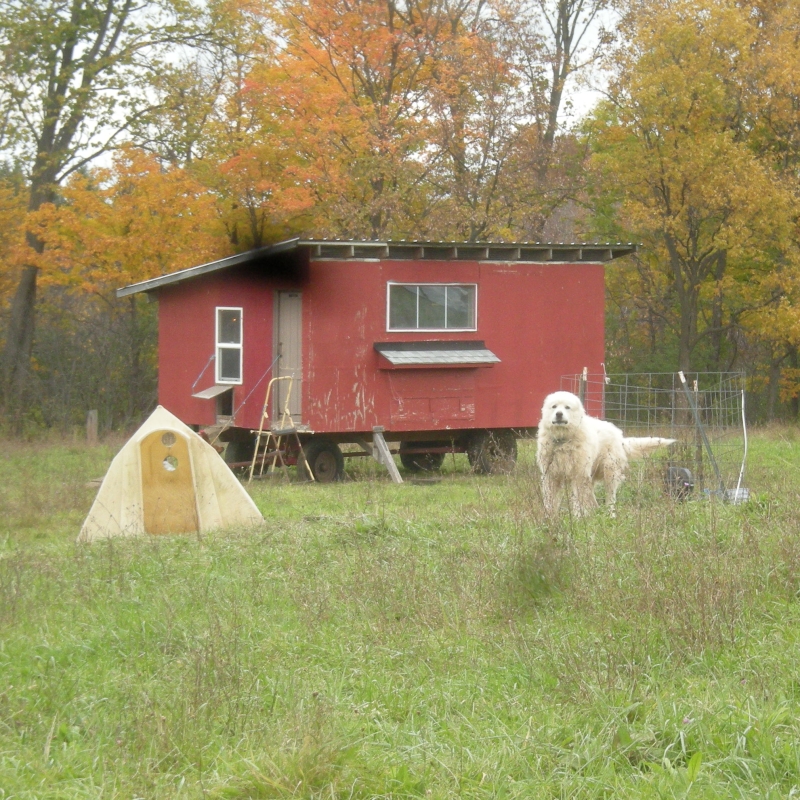
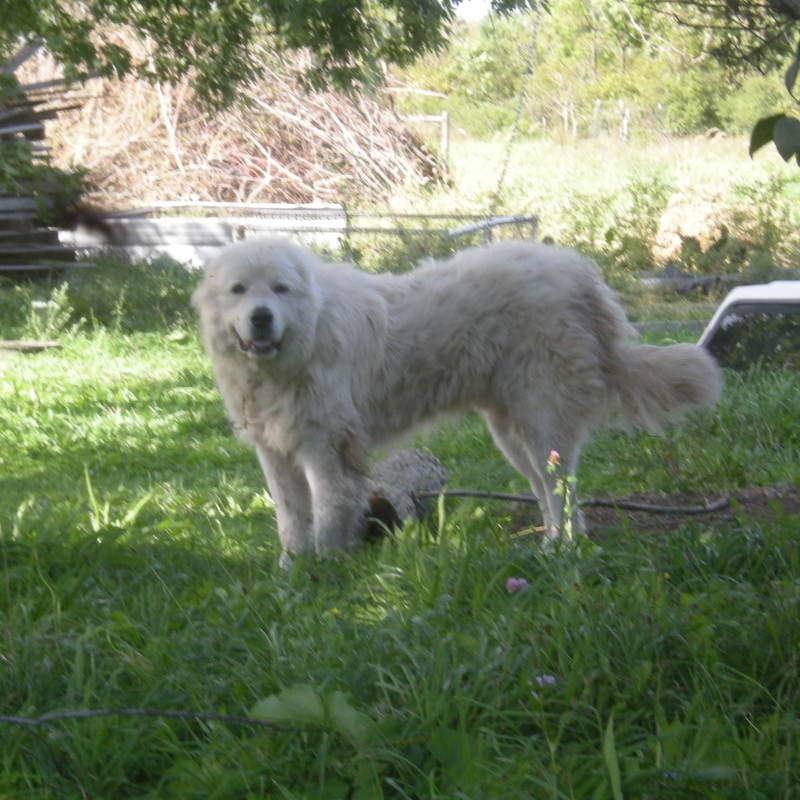
Yorek keeps an eye on the layers and turkeys, barking at what seems unusual. People are his group, and so we or folks walking on the street are what he especially barks at.
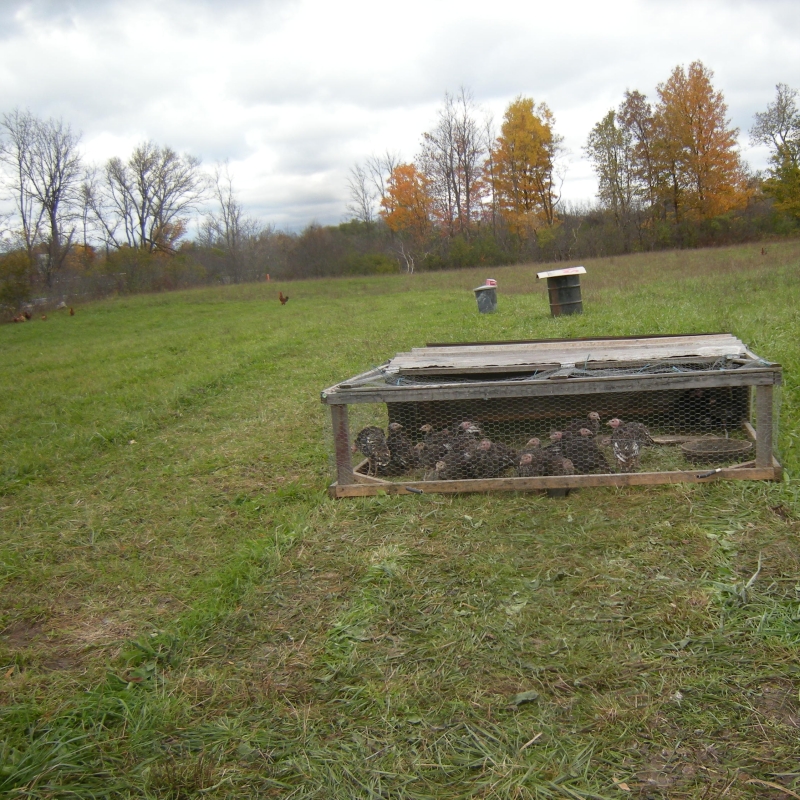
The turkeys continue to grow, though we will see if they are big enough for Thanksgiving. You can see how the grass is eaten down next to the pen and in front of the pen. Turkeys love fresh grass along with their grain!
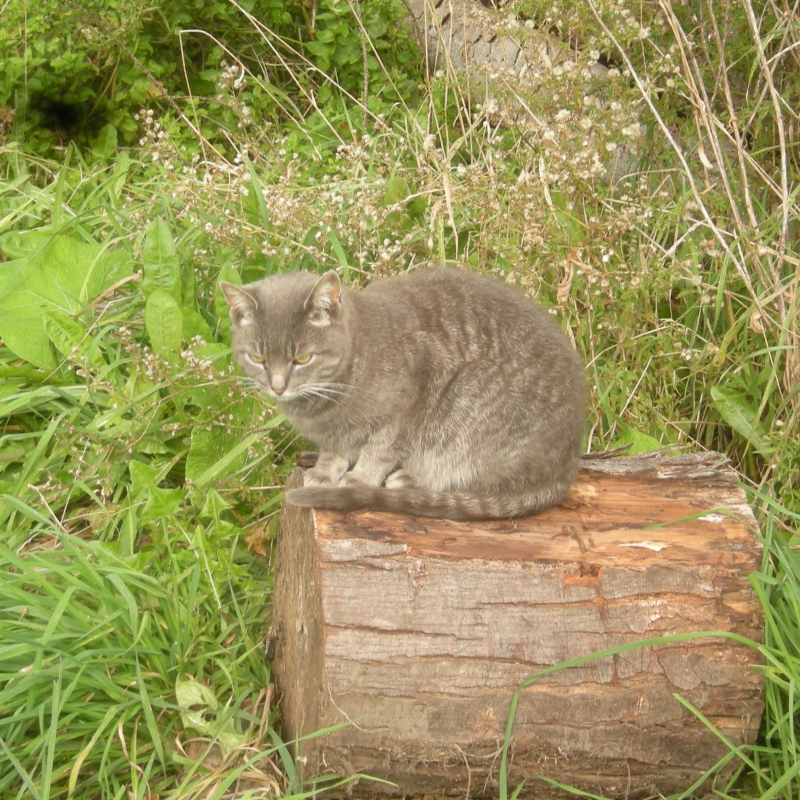
Mama, the cat, keeps an eye on her areas. She is a good mouser or vole-er depending on the location and season.
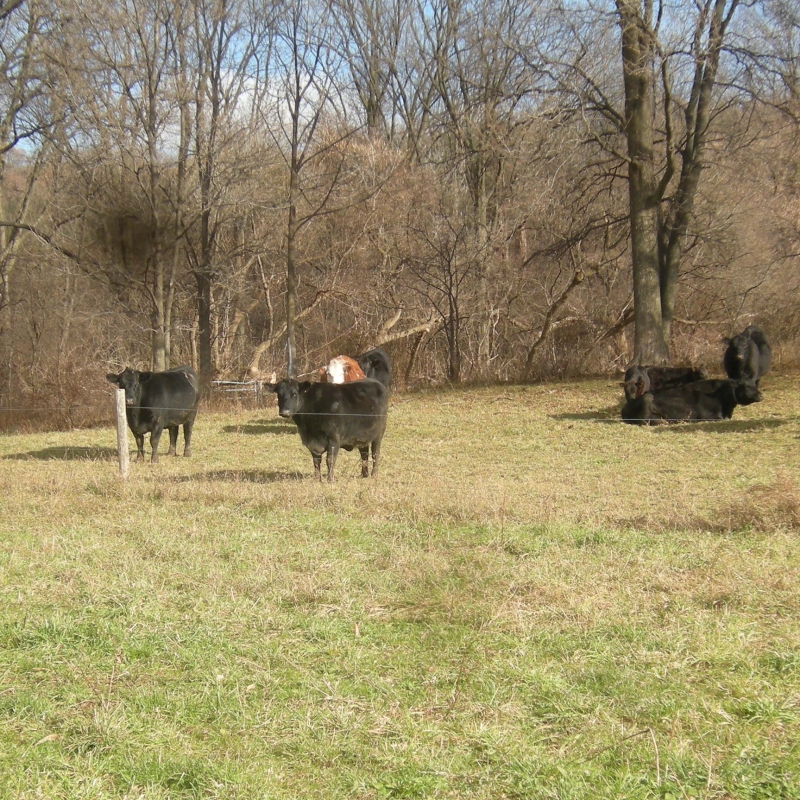
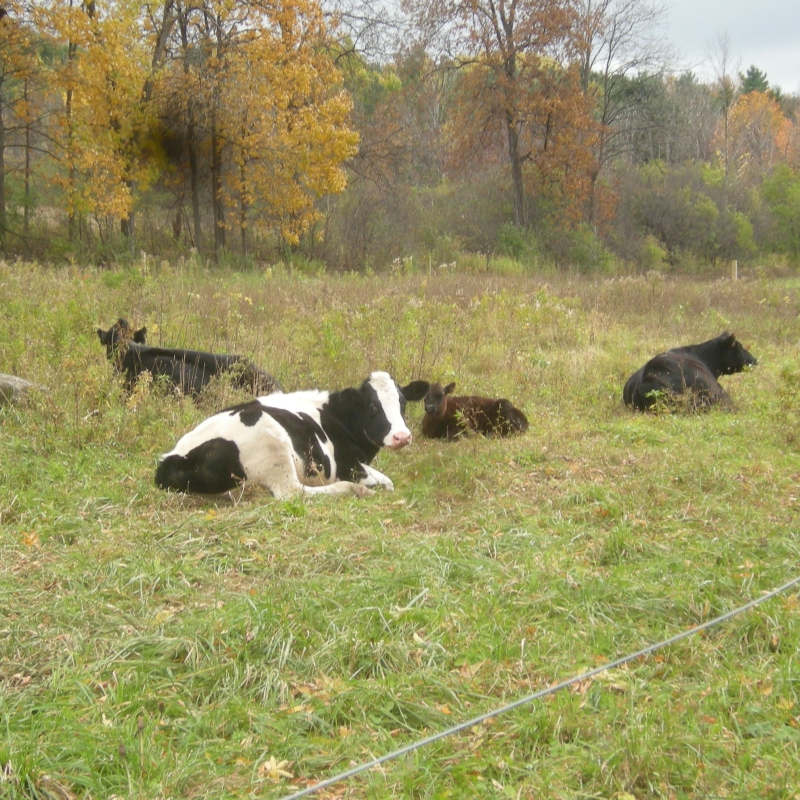
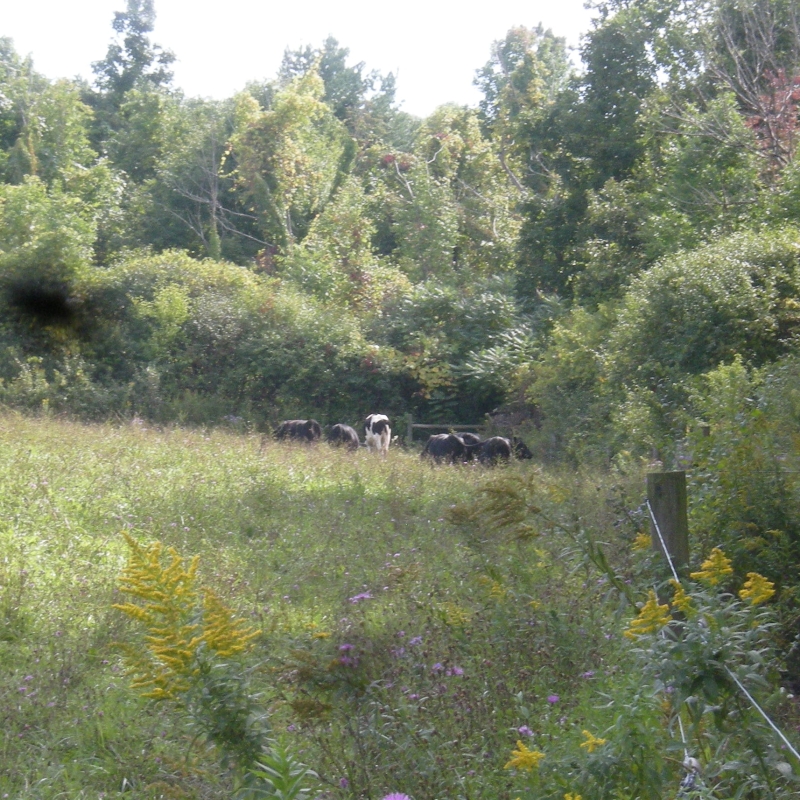
My favorite farm scene year round is contented cows lying down and chewing their cud. Life is right with the world!
We are raising turkeys for the holiday season. And once again we will be selling fresh turkeys on Saturday, November 20, the Saturday before Thanksgiving. The turkeys are being raised outdoors and are supplemented with organic locally grown grain. They are growing well. We hope that they will be 8-15 lb.
We are offering our turkeys for $5.00/lb. through Saturday, October 23. (From October 24 to November 20, they will be $5.25/lb. And from November 21 on they will be $5.50/lb.) We are taking preorders on our turkeys, $20 down, with the remainder due at pick up.
Please email us to let us know that you would like a turkey and what size you are looking for. We will send an invoice for the preorder that you can pay, or you can pay in person by cash, check or card.
This is one of my favorite spiders. Many times it is smaller. Either way it has yellow patches on its belly and back. And its web always has the distinctive white zigzag pattern right now the middle. This day it made its web right across one of our doorways. I took pics before we used the door. The spider had to find another location for the next day.
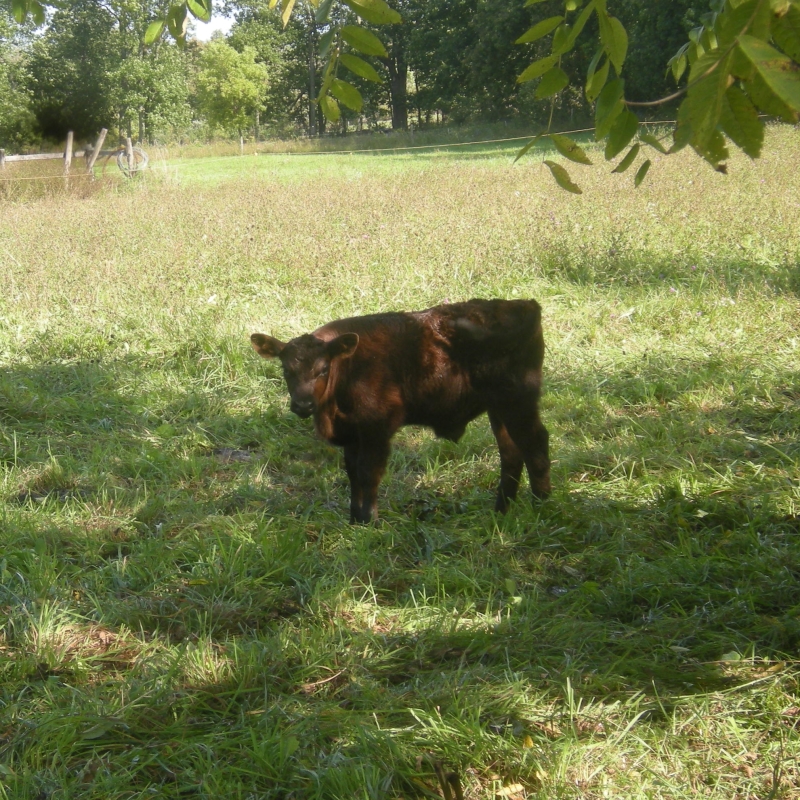
We have had several new arrivals at the farm: A young calf that we are bottle feeding, baby poults (turkeys) for the holiday season, a year old steer taking to our pasture, and a newborn calf, Malegra’s latest son.
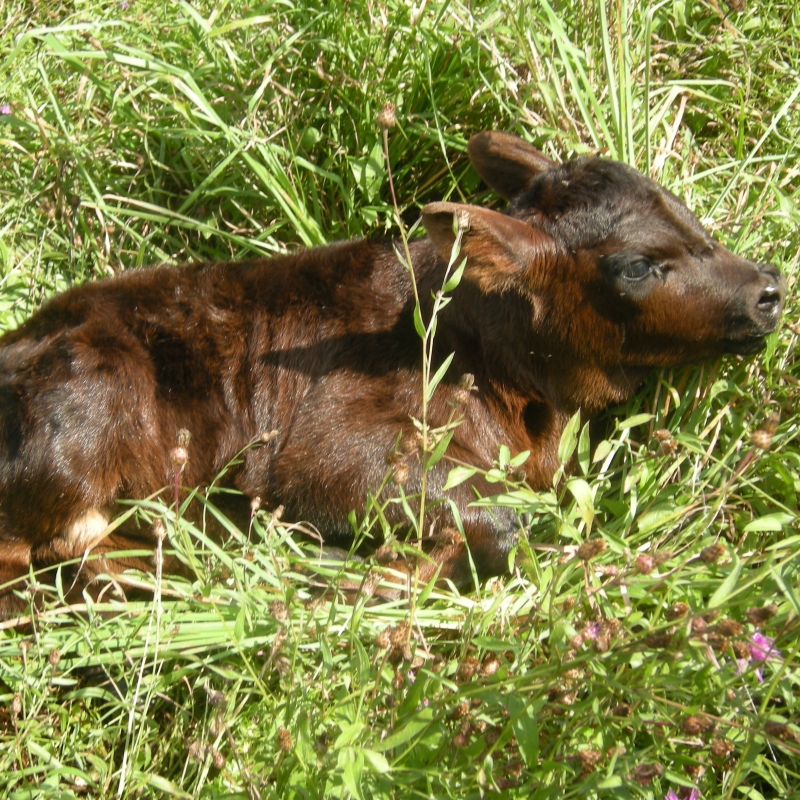
Calf to bottle feed
Baby poults (turkeys)
Year old steer
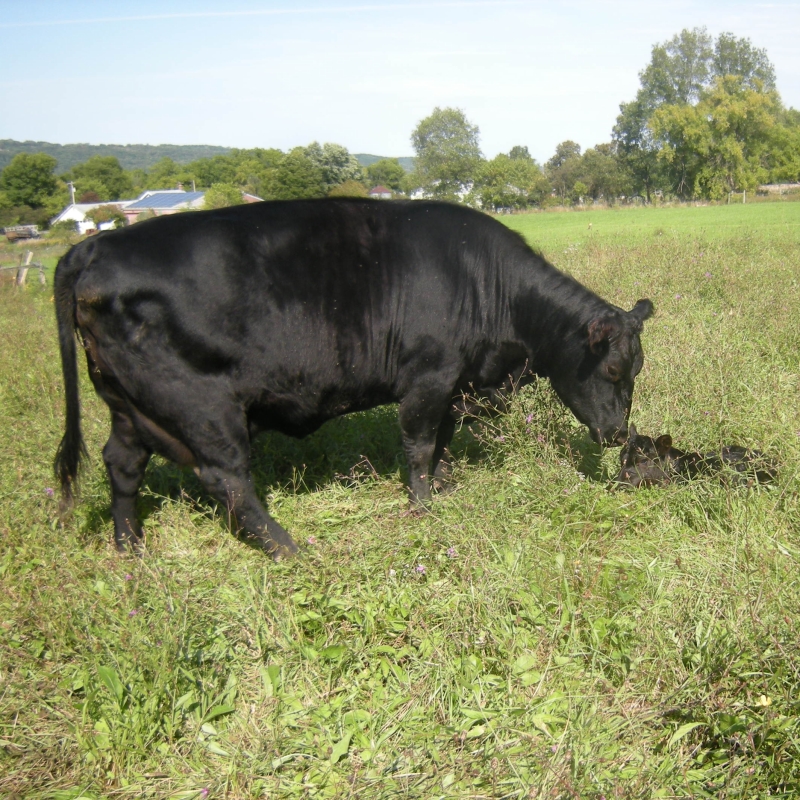
Malegra and her calf
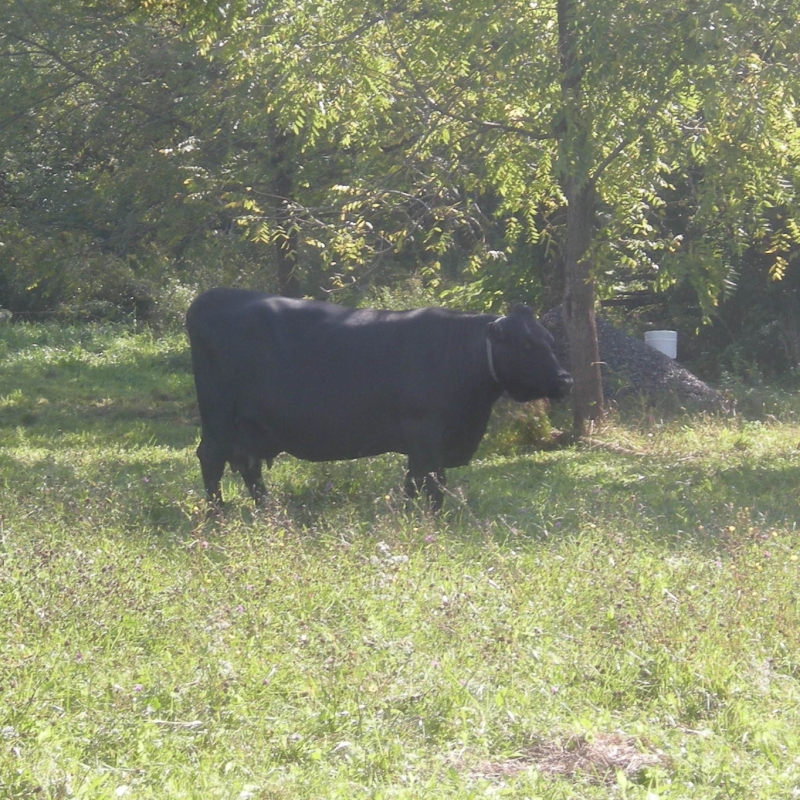
The pigs are growing, headed to the butcher next month. One has decided to lay near the feeder. Butter, the cow, is pregnant and due next month. She looks great with child!
Feeder pigs
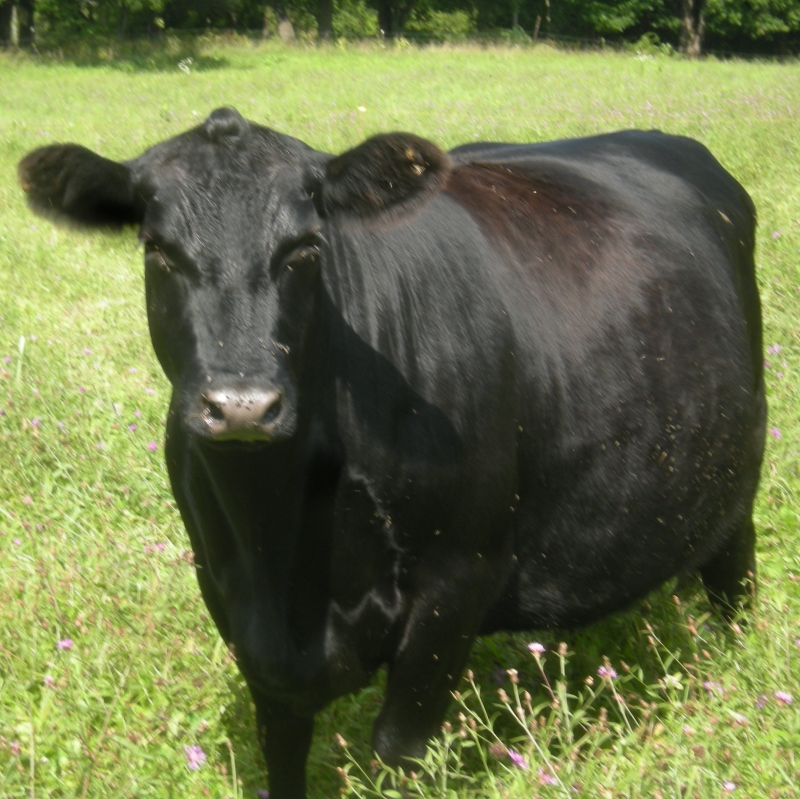
Butter, due next month
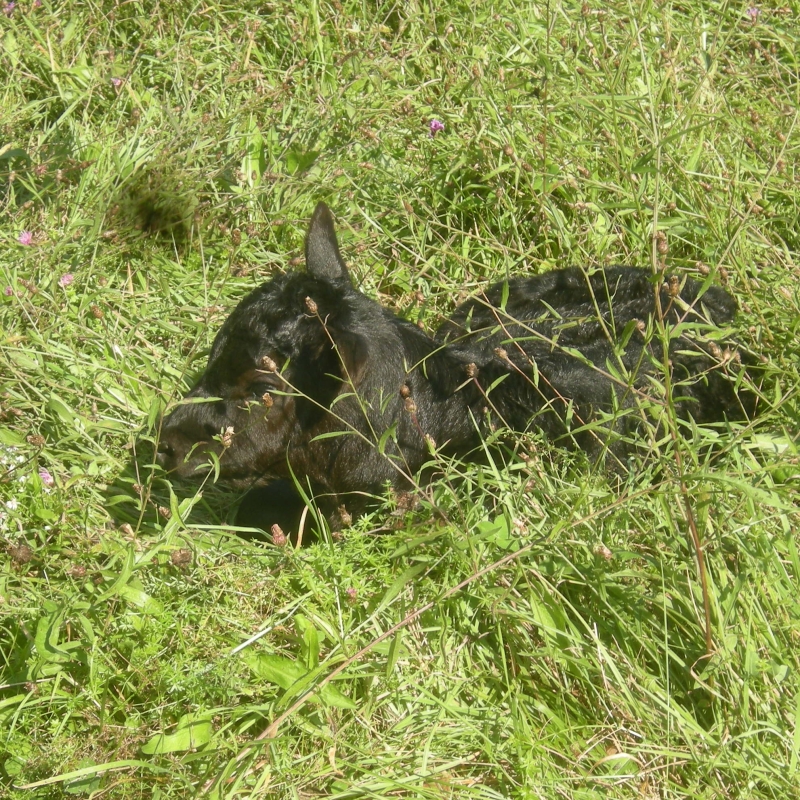
Malegra’s calf was born last week without difficulty. He is doing well in the pasture with the other cows.
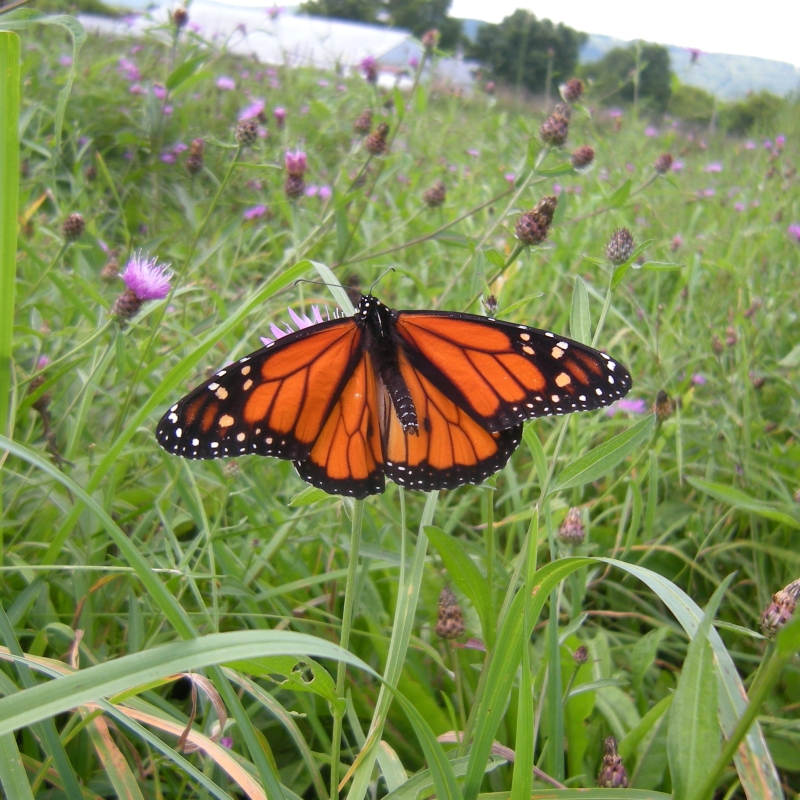
And one of the beauties of nature that we don’t domesticate, but do enjoy – the monarch butterfly!
Recently we had chicken and waffles. I made a chicken gravy, a thin gravy with shredded chicken. Here is how I made it.
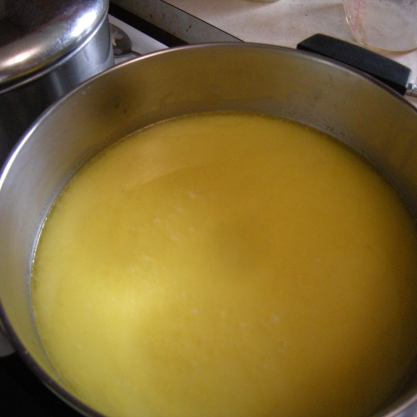
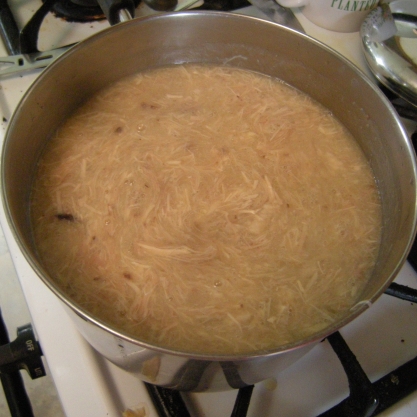
Because of the quantity of chicken I wanted, I used a whole chicken for this recipe. I put a frozen chicken in an 8 qt. stockpot and covered it with water. I put it on the stove to boil. Once it came to a boil, I turned the heat to low and let it simmer for 3 hours. This was the resulting broth with a nice layer of chicken fat.
Since I had a day until I needed the chicken gravy, I refrigerated the whole pot. The chicken chilled and the fat congealed. Also the broth was semi-gelatinous, always a good thing! At this point when you reach for the chicken it falls apart.
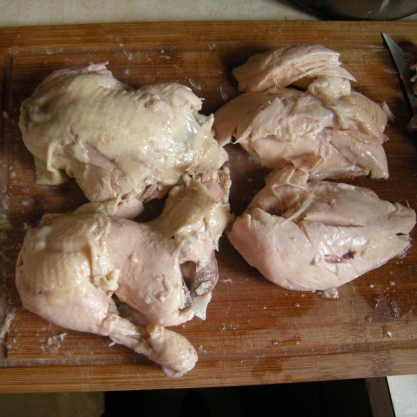
So I pulled off the leg and thighs from both sides and all the breast meat. I pulled the bones out and the skin off.
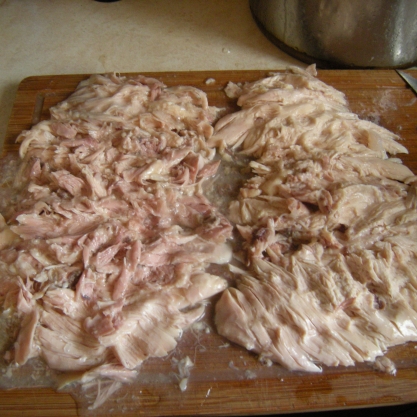
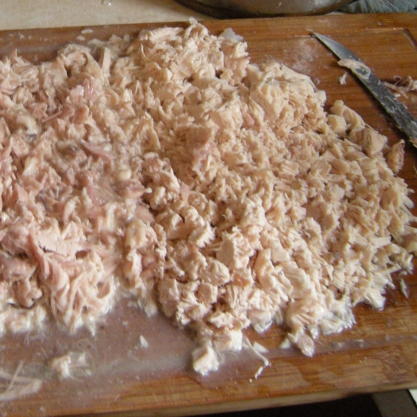
Because I wanted the chicken to be finely shredded, I pushed all the meat flat with my (clean) fingers. You could do the same thing with a kitchen mallet.
Then I chopped the meat up across the grain and ended up with finely shredded meat. (A 4 pound chicken gave me about 4 cups of meat, a cup from each section.)
Meanwhile, I was making the gravy. Recipes seem to have equal parts liquid and chicken. So 2 cups of broth would need 2 cups of chicken. And that ratio seems to make a nice chicken gravy.
I started with some fat, either the chicken fat from the broth or some butter. I used arrowroot as my thickener and mixed that with the fat, heating it and letting it thicken. Then I added most of the broth. I kept some back, so that I could add more arrowroot if it wasn’t thick enough. I let this heat almost to boiling. (Equivalency: 1 part arrowroot=2 parts cornstarch=4 parts flour)(Thickeners mix well with fats. They tend to clump when added to hot liquids, but mix well with cold liquids. So I tend to mix 1 part of thickener with 2 parts of cold liquid, either broth or water. I stir this until it is smooth, then add the smooth mixture to my hot stove liquid.)
Finally, I added the chicken to the gravy and had chicken gravy. You can see the meat blended in. I let this warm to almost boiling and then served it over waffles. It is a thin gravy, but works well over waffles or toast. And it would be a little bland by itself, but would be ok over most starches, potatoes, rice or noodles.
You can add your normal spices, salt, pepper, onions and garlic. Onions and garlic I would saute at the beginning in the fat before I add the thickener. Spices, salt and pepper, I would add at the end.
1tbspcornstarch (or 1/2 tbsp arrowroot powder, or 2 tbsp flour)
1 1/2cupschicken broth
1/2cupchicken broth
1-2tbspcornstarch if needed (half the amount for arrowroot OR twice the amount for flour)
Spices, pepper, salt, to taste, opt.
Method
Cook and shred chicken.
Heat fat in medium saucepan. Saute onions and garlic, if using. Add thickener. Stir until thickened. Add 1 1/2 cup chicken broth and stir until thickener is unclumped and spread throughout.
Bring just about to a boil, stirring every 2-3 minutes.If it seems thick enough, add the 1/2 cup chicken broth. If it seems thin, add some thickener to the 1/2 cup chicken broth. Stir until smooth. Add to the heated mixture.
Add the chicken. Heat until just about boiling. Add salt, pepper or normal herbs or spices to taste.
Serve over waffles or toast, OR potatoes or rice or noodles.
This is a use-what-you-have sort of dish. I cook to a pot based on the number of people eating. I vary the veggies according to what I have and according to the dislikes of those I am serving. Some veggies retain their shape well when sauteed – broccoli, cauliflower, beets – and some shrink considerably – many greens – and some are somewhere in between – beans, pod peas, squash, cabbage, onions, garlic.
I use a cast iron Dutch oven. I put oil in the bottom and let it start to warm. I add my firm veggies and put some oil on top. Then I stir or toss the veggies and the oil. Next I cover it with the lid and let it sit for a minute or two. Then I add the next batch of veggies, again adding some oil on top, stirring and tossing. Once again I cover it and let it sit another minute or two. And finally I repeat with the greens. Once the lidded pot starts steaming, I put the heat to low, letting it sit for 4-5 minutes in between stirrings. When the solids are finally soft, then I serve this. It may be over rice or just a side of meat and potatoes. And the veggies still taste good the next day, though we don’t usually have many that last that long. Here is a printable form of this meal.
Veggie Meal
This is a use-what-you-have sort of meal. I cook to a pot based on the number of people eating. I vary the veggies according to what I have and according to the likes and dislikes of those I am serving.
Firm veggies – ones retain their shape well when sauteedBeets, carrots, broccoli, cauliflower, celery
Mid firm veggies – ones that will soften someStems of the greens, pod peas, beans, onions, squash, tomatoes, corn
Wilting veggies – tend to be the greensSpinach, Swiss chard, beet greens, bok choy, tatsoi, garlic
Any already cooked veggiesCanned veggies, leftovers
Equipment
Pot with a lid
Method
Cut the veggies into bite size pieces.
Put oil in the bottom of the pan and let it start to warm over high to medium high heat.
Add the firm veggies and put some oil on top. Stir or toss the veggies and the oil. Cover with a lid and let sit a minute or two.
Add the mid-firm veggies and put some oil on top. Stir or toss the veggies and the oil. Cover with a lid and let sit a minute or two.
Add the wilting veggies and put some oil on top. Stir or toss the veggies and the oil. Cover with a lid and let sit a minute or two.
Stir in or toss any cooked veggies or leftovers. Cover and watch for the pot to steam. Turn the heat to low, stirring every 4-5 minutes until the veggies are all soft. Take off heat and serve.
Notes
We serve this over rice or as a side with meat and potatoes. These veggies tend to taste good the next day as well. OR if you have enough left over, you can freeze them for a meal another day.