Announcing – drum roll please! – The 2018 Local-Food Cooking Challenge!
RULES:
- Make a dish – main dish, side, dessert, whatever – from the category for that month.
- The category item needs to be local food for you. For example, if you make a breaded chicken dish in March, the chicken must be locally grown, but the breading ingredients do not.
- Comment to me by email or in that month’s item post about what you made and how you made it, how you and any that you shared it with liked it, and how you might change it until another time. Each item you make gives you 1 entry in a drawing. Limit 1 entry per month.
- On January 1, 2019, we will have a drawing from all the entries for 2018 for a $50 gift certificate to Treasures of Joy Farm. Members of our family living in our immediate household are not eligible for the drawing.
- Categories by month are:
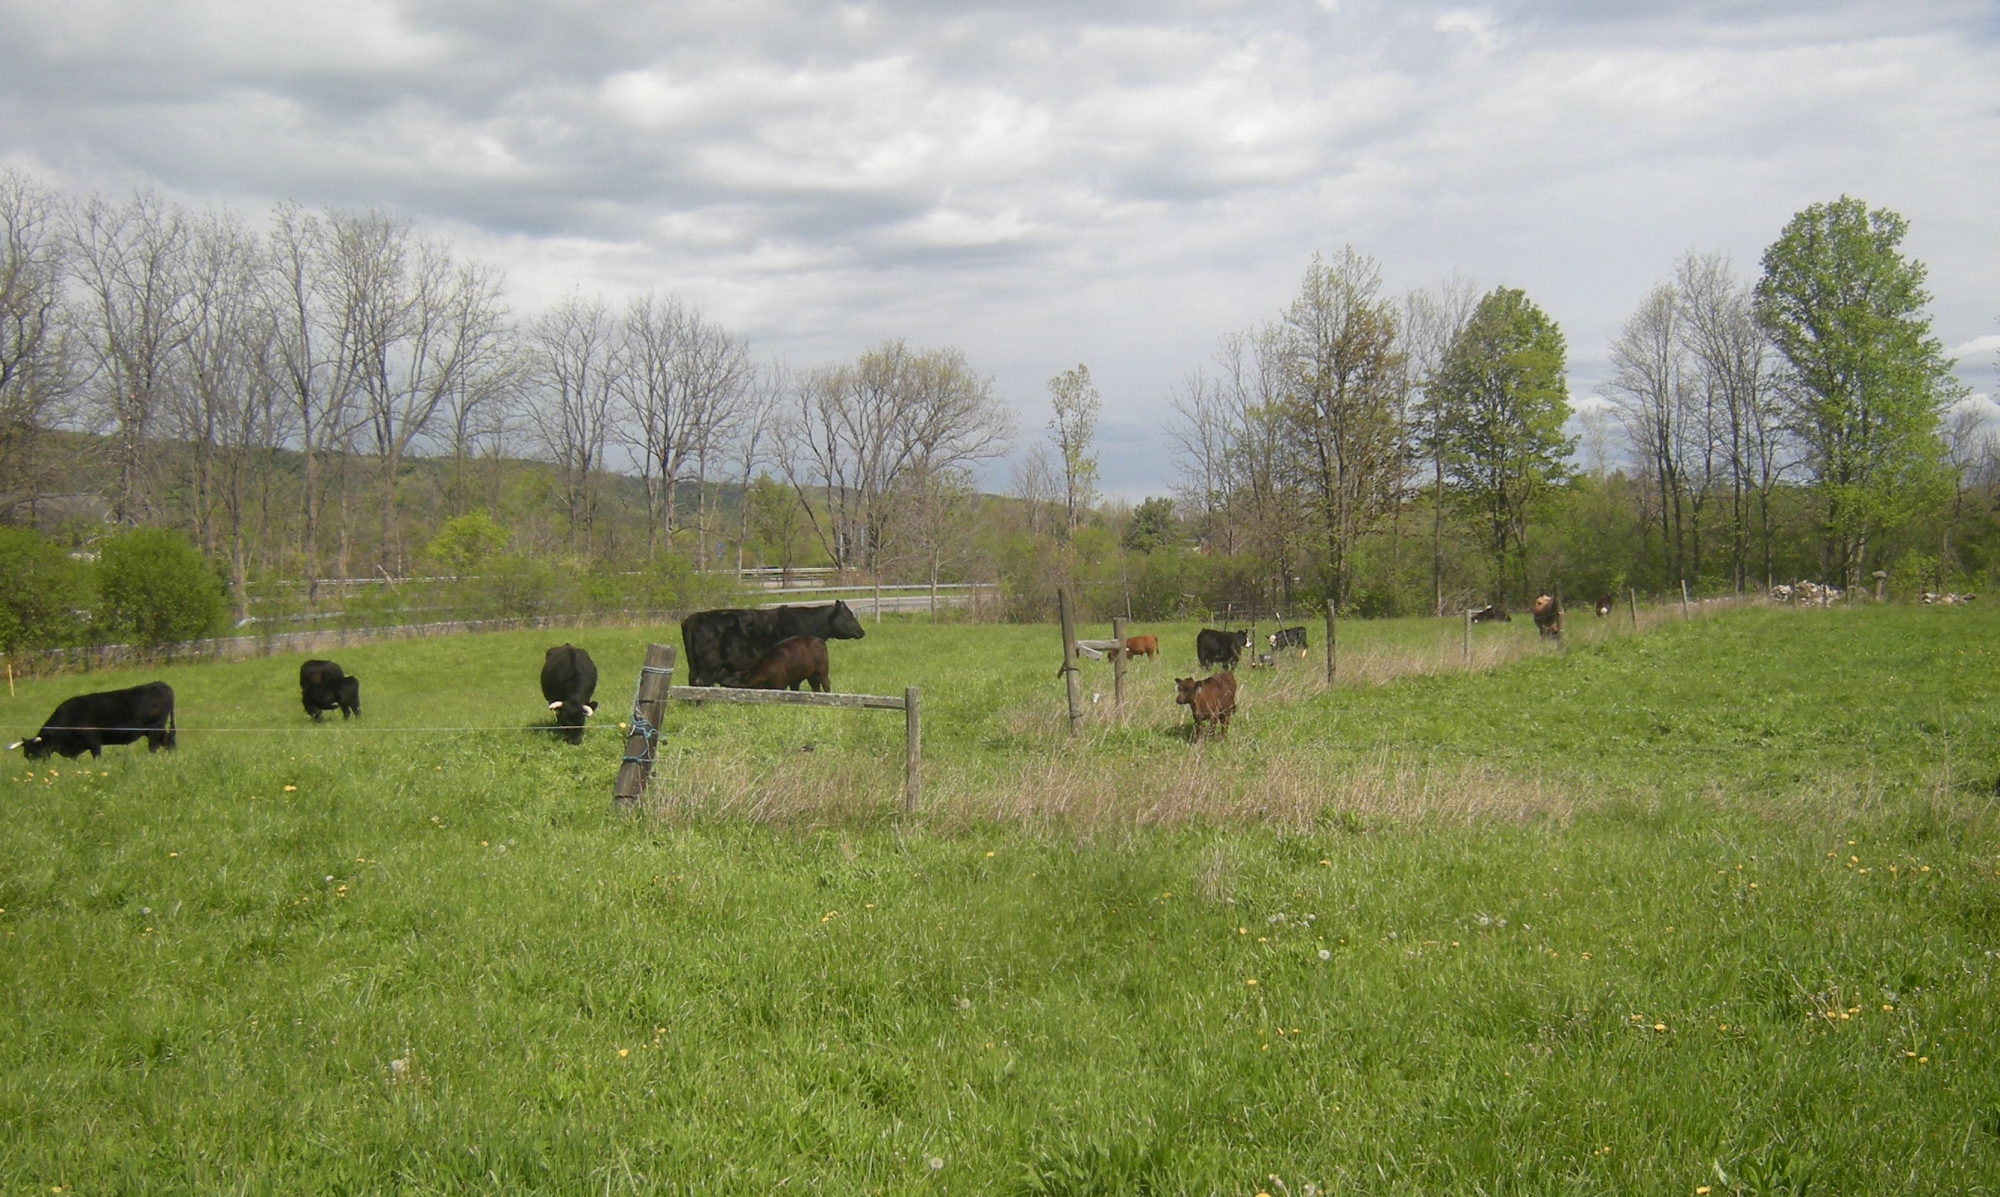
- January – Beef/Wild game
- February – Organ Meat from any species
- March – Chicken
- April – Egg dishes
- May – Pork
- June – Your choice
- July – Vegetable
- August – Chicken
- September – Vegetable
- October – Beef/Wild game
- November – Squash/Pumpkin
- December – Your Choice
Happy planning, shopping, and cooking!


 Benjamin Franklin, commenting to his daughter about the bird shown on the Great Seal of the US, stated the following:


