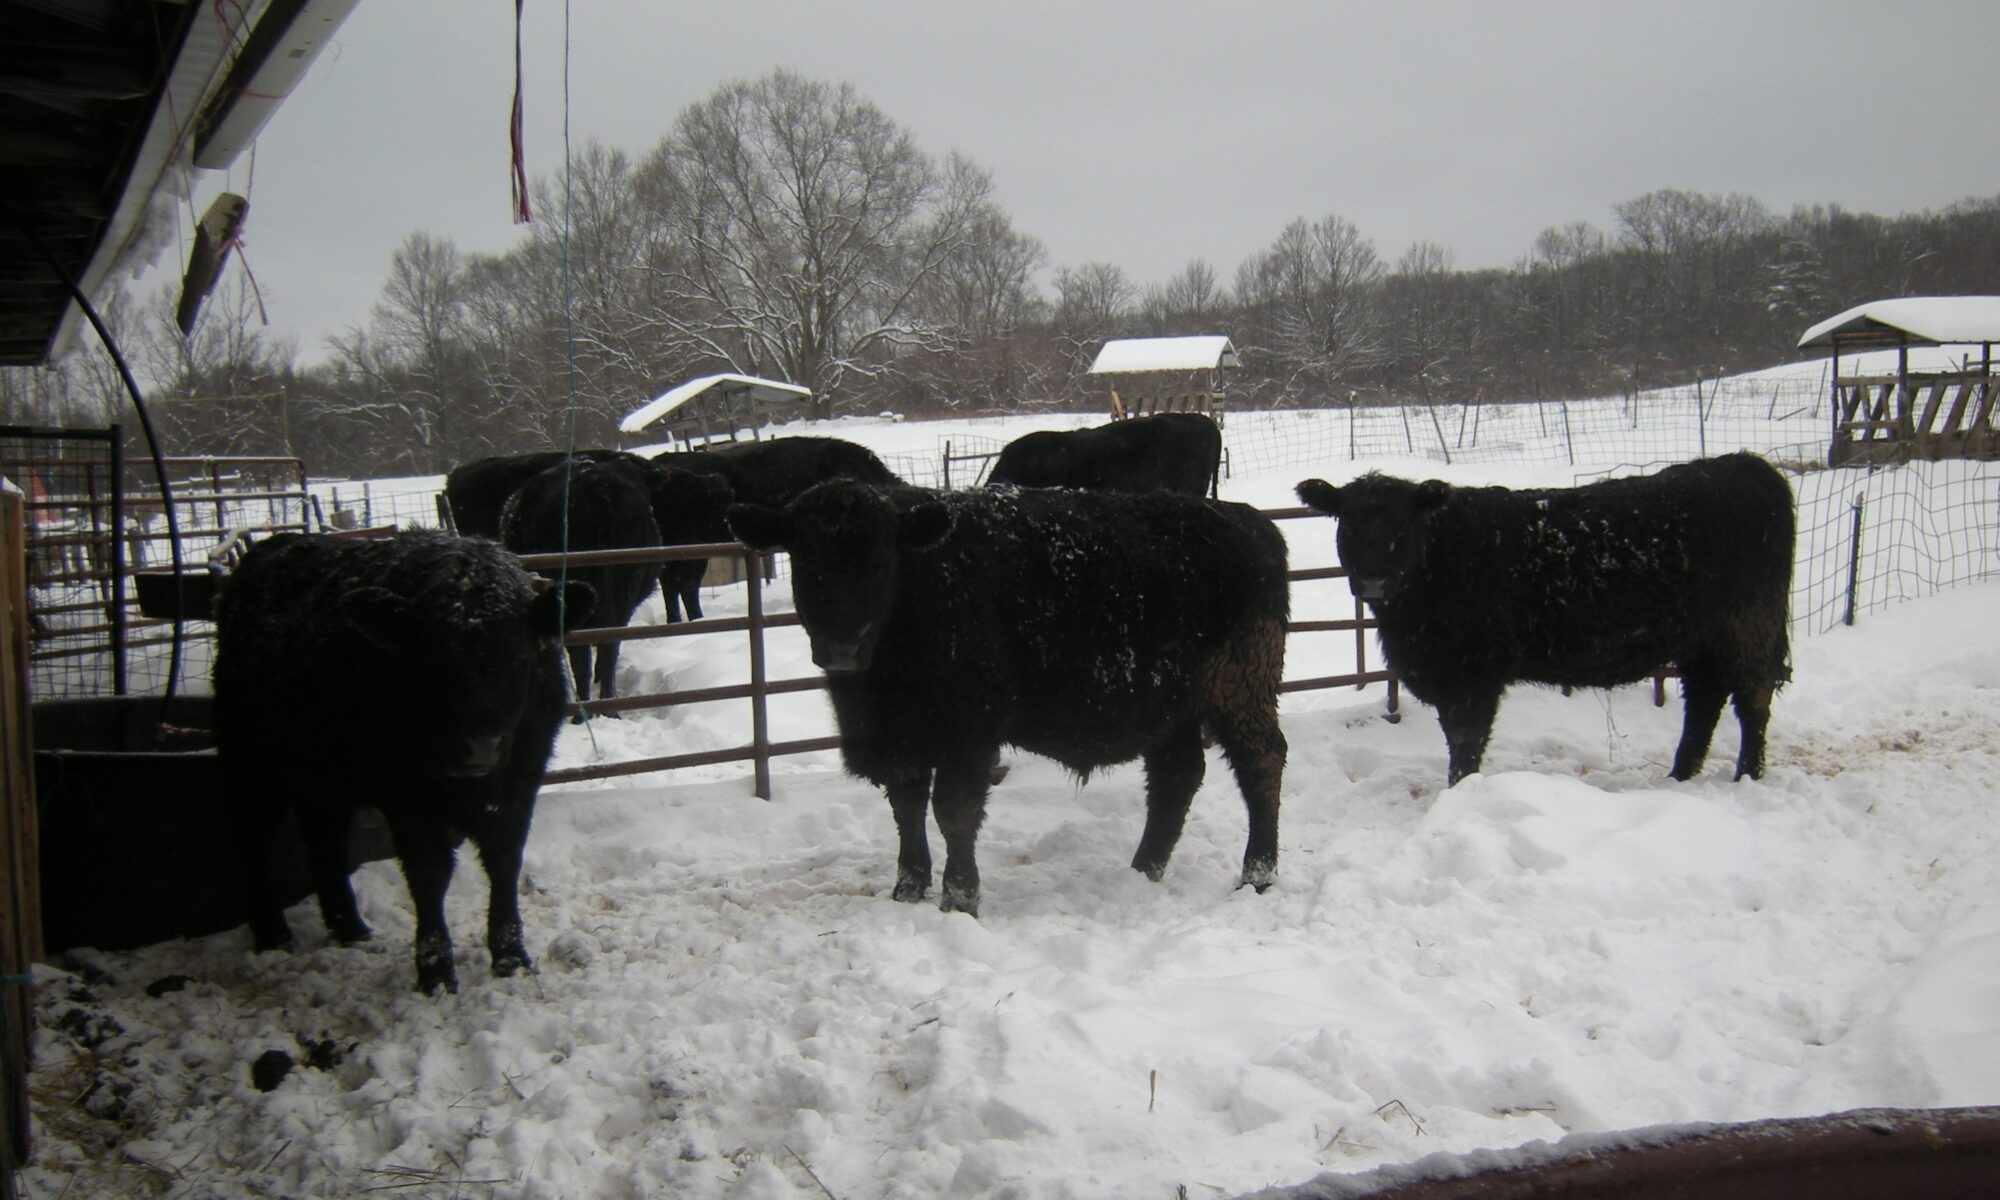
Spring Intruders

As is common in rural properties, The Farm is posted land. The Farmer doesn’t want uninvited guests leaving a gate open or tromping through crops. So when The Farmer’s Wife takes her walk along the road, the bright yellow signs are hard to miss.

The other day, The Farmer’s Wife came back from a walk and reported on a violation of the posted sign. We had an intruder!

It is the job of the brave Farmer to protect his borders, so out he went, weapon in hand…

Continue reading “Spring Intruders”

2019 Farmers Markets Start Next Week, June 5&6!

  • On Wednesdays from 2-6 p.m. we will be at the Syracuse Eastside Neighborhood Farmers Market which is held at the Westcott Community Center on the corner of Euclid and Westcott in the university area.  We are usually on the Euclid side of the building.  I refer to this market at the Westcott market.
  • On Thursdays from 12-6 p.m. we will be at the Fayetteville Market which is held in the Town Center in the parking lot.
  • On any day we are available at the farm in Nedrow by appointment.

Want to get weekly updates about what we have available?  Sign up below! Then stop by a market and say hi!  See you soon!

The form you have selected does not exist.

Spring on the Farm – 2019

Here are some views of the animals on the farm – goats, cows, pigs, calf, and chickens – and a look at the tulips, opened and closed.  Enjoy!

Pesch and Ralph
Firelight grazing
Wild Woman grazing
Spring piglets
Ted, the calf being raised to be an ox


The six chicks from the winter hatch
Closed tulips on a cool day
Open tulips on a sunny day


Starting Seeds

March is time to start some seeds! So far this year we have started tomatoes, gourds, and rosemary.

We built a little plant nursery in our basement a few years ago that we raise our plants in. A string of outdoor Christmas lights are in the bottom to keep the soil warm. And overhead lights are on a timer to simulate sunlight. The plastic tent covering can be peeled back into a large opening. This lets us soak everything well with a hand sprayer.

Hopefully these young tomato plants will be producing fruit later this summer.

Iatrogenic Issues

Late last fall we decided to re-try our hand at raising some goats. We bought a fine Nubian-Saanen cross, named Pesch, from farmers we know in Cortland County. She had been bred and expected to deliver in March.

Well, deliver she did…and along came kid number 1.

(Land mammals clean off their new babies by licking them off, so Mama is doing a good job here with her newborn.)

And then along came kid number 2.

(Baby 1 has its head up, which is a good sign. Within a couple of minutes she will be trying to stand up, although her legs will be too wobbly to support her.)

And the out popped kid number 3.

(Kid 3 was 15 – 20 minutes after Kid 1, so  the first little lady is already trying to figure out how to eat.)

All was going well with our three little kids. And then we tried to follow good veterinary  practice and gave them a booster shot of selenium and Vitamin E. Unfortunately, we got our dosage wrong and thus we arrive at our iatrogenic issue. Two of the kids reacted to the overdose and ended up dying.

It was a sad re-introduction to raising goats, but we are glad that we have one little guy (the kids call him Ralph) that jumps around the pen playing with Mama.

Tax Time at the Nerve Center

March 23 – Once upon a time (heigh-ho, the dairy-o) the Farmer took a wife.

The Farmer’s Wife not only gets to cook all the great farm food, but also helps keep track of farm records. This is in addition to volunteering for her church, working part-time for a small homeschool curriculum producer, homeschooling her children, and maintaining a household.

And the big push now is to get our tax forms done.

Here is The Farmer’s Wife’s Nerve Center. Does that look like organized chaos? Well, if The Farmer posted a picture of his work area, you would see complete chaos.

April 8 – And taxes are done, submitted, and accepted! YEA!!!

Pie crust recipe

Here is the current pie crust recipe of choice.  It works well and gives a consistent crust. It came from a friend who likes to bake.

Pie Crust

This uses flour, oil and water for a consistent crust.

Ingredients
  

  • 2/3 cup oil
  • 1/3 cup water
  • 1 cup whole wheat flour Can use all-purpose
  • 1 1/4 cup all-purpose flour Can use whole wheat
  • 2 pieces wax paper

Instructions
 

  • Mix oil and water until frothy.  2 cup liquid measuring cup is a good place to mix it.
  • Put frothy oil and water into bowl and add flour.  Stir with fork or spoon until it sticks together.  Try to touch as little as possible.
  • Separate into 2 lumps.  Put one lump between wax paper and roll out to size of pie pan.  Put in pie pan and proceed according to pie recipe.  Do the same with 2nd lump of dough.

Notes

You can divide the recipe in half for 1 pie crust - 1/3 cup oil, 3 tbsp water, 1 cup + 2 Tbsp flour.  Follow the directions above.
I like this with a mix of whole wheat and all purpose flour.  You can also do just one or the other.

Pumpkin Pie

Here is my favorite pumpkin pie recipe.  It came from the back of a no-name brand of canned pumpkin.  I cook down my pumpkin and use that in place of the canned pumpkin.

Pumpkin Pie - Makes 2 pies

This pumpkin pie uses milk, eggs, pumpkin, sugar and spices, nice and straightforward.

Ingredients
  

  • 3 1/2 cups pumpkin, or pureed squash or sweet potato
  • 1 cup sugar
  • 2 tsp cinnamon
  • 1 tsp ginger
  • 1 tsp allspice
  • 4 eggs
  • 2 cups milk

Instructions
 

  • Mix pumpkin, sugar, spices and eggs together.  Stir in milk.
  • Pour into 2 uncooked pie crusts. Bake for 400F until knife comes out clean.  It may take 1 1/2 to 2 hours. Cool and eat.

Notes

I use something between 3 and 4 cups of pumpkin, depending on how much I have.
Nutmeg or pumpkin pie spice can be substituted for some of these spices.

Here is the pie crust recipe that I like to use.  Enjoy!

Cooking a Pumpkin – Oven Method

Recently I cooked a pumpkin in the oven to prepare it for making a pie. Here is how I did it:

First I washed the outside of the pumpkin.  I poked it 3 or 4 times with  a fork.

Jarrhdale Pumpkin ready to go in the oven

Next I put it on a pan with sides and put some water in the bottom.  I baked it at 400F until it was soft, probably about 2 hours.

Cooked pumpkin


I removed it from the oven and let it cool.  Then I peeled it.


Peeled pumpkin from side
Peeled pumpkin from top


Cooked pumpkin wedge


Cooked pumpkin in blender covered with water
Blended pumpkin ready to use


Next I cut it into pieces and put about 4 cups in the blender.


I added water to the top of the pumpkin.  I blended it until I had a nice puree.


Then I set it aside and blended some more.  Once it was all blended I could use it or refrigerate or freeze it until I had something to do with it.


Cooking a Pumpkin - Oven Method

Here is a way to cook a pumpkin or winter squash in the oven.

Ingredients
  

  • 1 pumpkin or winter squash

Instructions
 

  • Wash the outside of the pumpkin, poke it with a fork 3-4 times, put in a pan with sides, like a 13x9 pan, cover the bottom with water, put in the oven, bake at 400F.
  • Cook until it is soft. This could take 2 hours. I check it at 1 hour and every 15-20 minutes after that. It will feel soft and it could shrink and sort of fall in on itself.
  • Once it is soft, remove from the oven and let it cool at least 10-15 minutes. Cut it open. If it is still hot inside, let it cool some more.
  • Once it is cool enough to handle, remove and discard the seeds. Pull off the skin or scoop out the meat of the pumpkin.
  • Put about 4 cups of pumpkin in the blender. Add water to the top of the pumpkin. Blend until smooth. Add water if all of it can't rotate through the blending.
  • Empty the blender and do another batch, repeating until it is completed.  Refrigerate or freeze until you are ready to use it.

Shave Steaks

Shave steaks are thinly sliced steaks, cut from sirlion tips.  If used for sandwiches, 2 steaks take about 5 minutes or less to cook.  This batch of shave steaks has 8 steaks in a package and the package weighs about 1 lb.  We eat the steaks on rolls with lettuce, cheese, tomato, and condiments.

Here is how I cook them: I put 2 shave steaks on a skillet over medium heat.  They will start cooking and will visibly shrink.  They will also turn gray/brown and will have red liquid sort of pool on top.  At that point I flip them over and cook the other side.  If red liquid comes up again, then I flip them one more time.  And usually then they are done.  I remove them to a plate and do 2 more.

This is the meat that you would make a Philly Sandwich with.  You can also cut the uncooked meat into small squares and use as the meat of a stir fry. Enjoy!