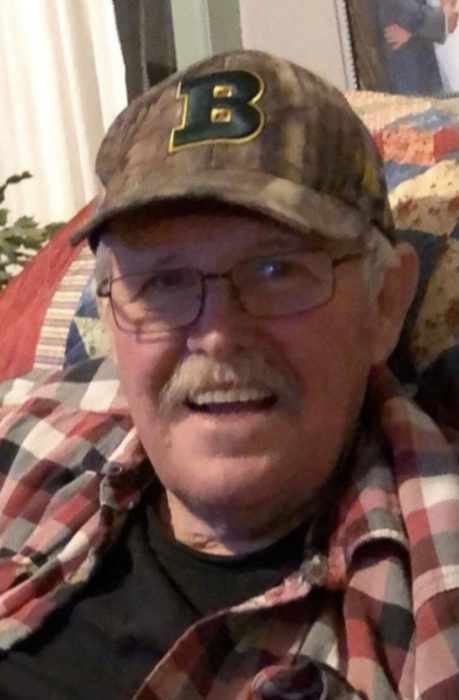
I met Jim Brownson 10 or 11 years ago when we first started coming to the Eastside Neighborhood Farmers Market at Westcott Community Center. We were on the Westcott St. side of the Community Center in those days. He and his wife, Debbie, and his sister, Donna, had the stall closest to Euclid St. Lots of people came and purchased food from them. Sometimes the Brownsons would bring their children or grandchildren with them. Two children were married at that point. The next 10 years would see all of the children marry and many grandchildren be born. And all of these came by the market at some time or another.
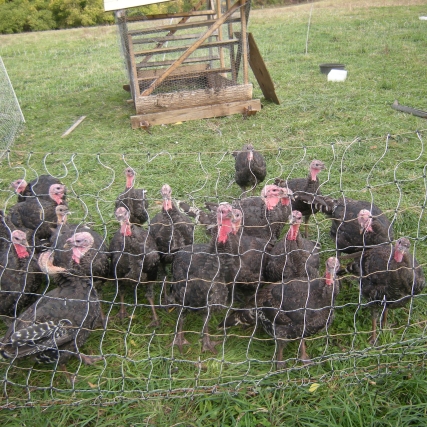
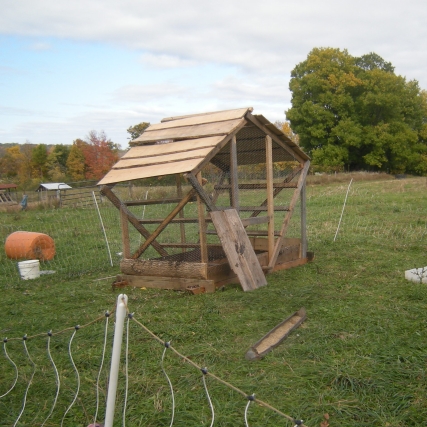
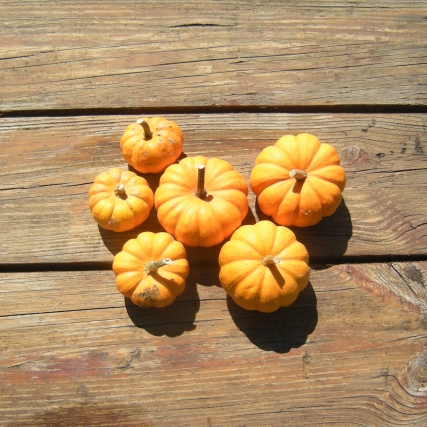
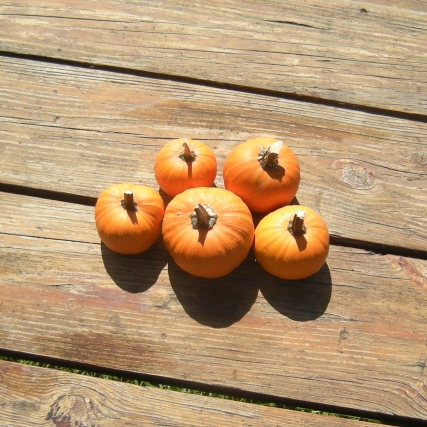
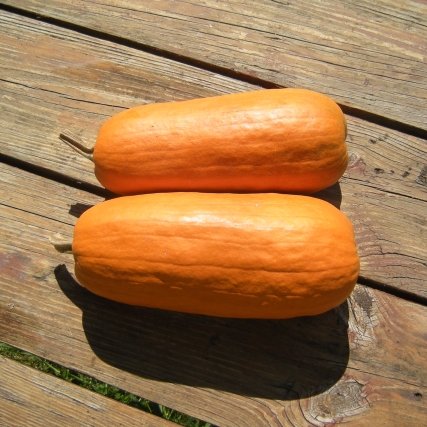
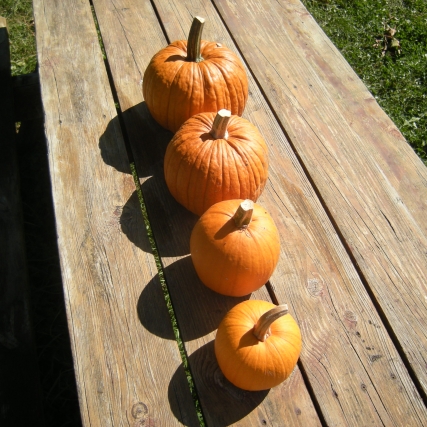
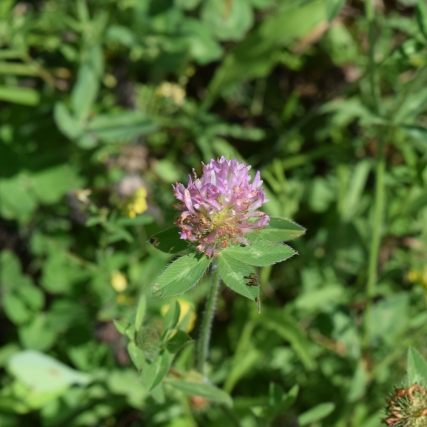
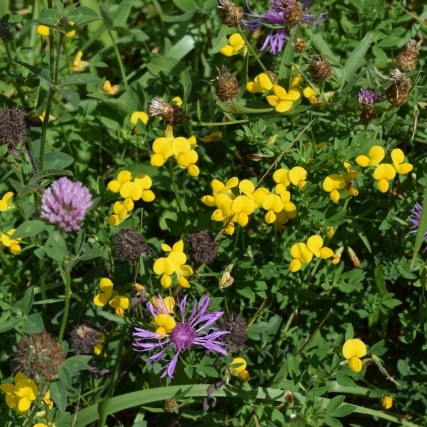
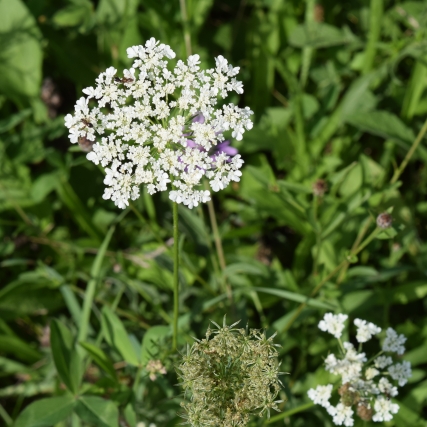
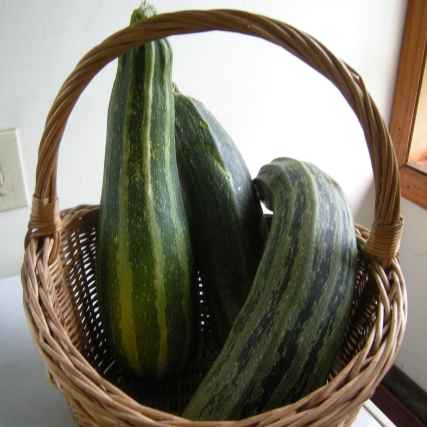
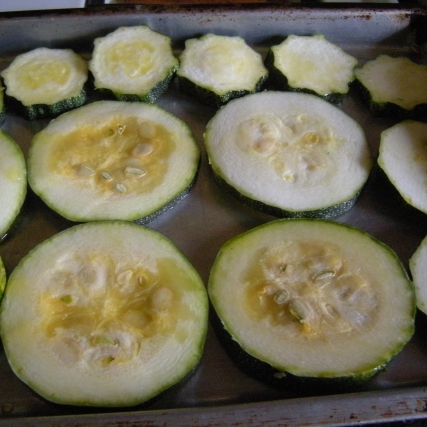
The year before I started at the market Jim had a serious heart attack (perhaps several heart attacks) that left him with greatly reduced heart function. In time he received a pacemaker with built-in defibrillator. He was still one solid, sturdy man. He worked day in and day out, planting, using the tractor, harvesting, weeding, doing whatever the next thing was to do. In the spring it was starting the seedlings and plants. Next it was getting them in the ground. Then weeding and spraying as needed. Finally harvesting. Water for irrigation got pumped from the creek or the fire hydrant depending on the year. Squash, pumpkins, corn were planted every year. He regularly did the Westcott Market and the Cazenovia market. Some years also saw him at Chittenango and Bridgeport markets. Over the winter he cut firewood. One year he put in a high tunnel to extend his season. (He was always after me to cover my high tunnel. He was surprised at how much a difference it had made for him in farm production.) He repaired engines for himself and others. He helped his children with their projects. He was one busy man.
But he has slowed down over the past several years. First his wife, Debbie, slowed down with health issues. The family pitched in, helping her and Jim and caring for her at home. After her passing, Jim figured out how to live without the love of his life. He did it. Then he slowed down with his own health issues. His grandson, Dylan, and sister, Donna came to the market with him. The 3 of them made a good team. And this summer Jim slowed down even more. But just like with Debbie, his family cared for him at home.
I went to see Jim about 2 weeks ago. He said hi and then dozed as some of the girls and I visited. When I said that I was leaving, he opened his eyes, smiled big, and said, Keep the faith! I said, You, too! And we grinned and I gave him a thumbs up.
I miss Jim at the market. I miss his taking care of whatever negotiations needed to be done with market managers. I miss being able to ask his advice or hear his suggestions. I miss listening to his stories of other markets and other years. I miss visiting with him. Jim, be at peace!
https://www.traubfh.com/obituary/James-Brownson Pictures used by permission of the family.