Prepping Garden Beds for Growing Season

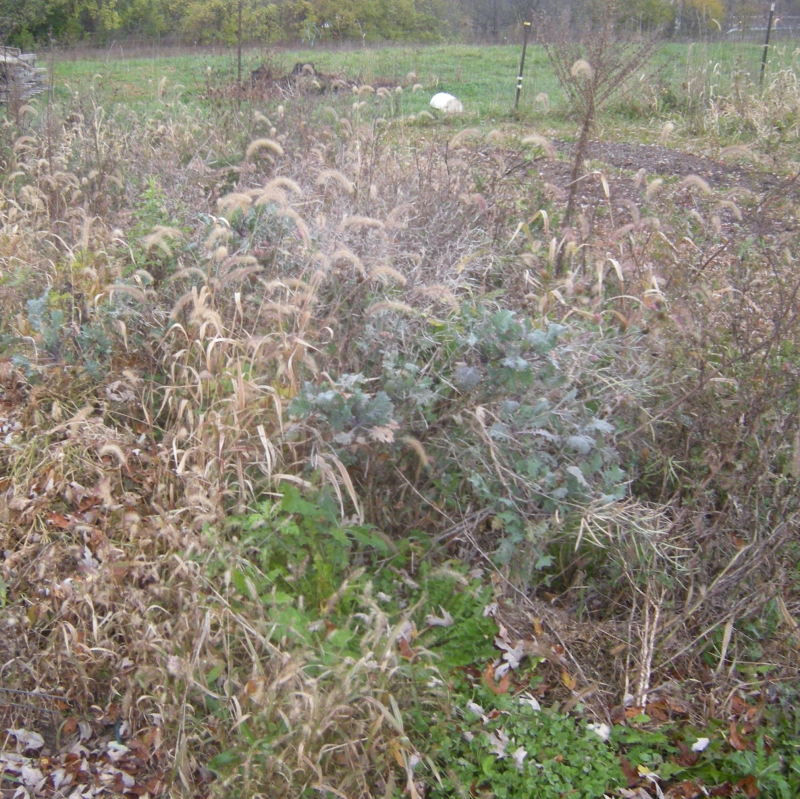
Red Russian kale (the darker green plant) was planted in this bed. As it grew, it wasn’t well-tended, so the weeds grew along with it. Now it is the end of the growing season. What should we do with this bed? How can we reduce the weed pressure for next year?

First, we can go through and pull the seed heads. OR we can just mow it all down with the lawn mower.

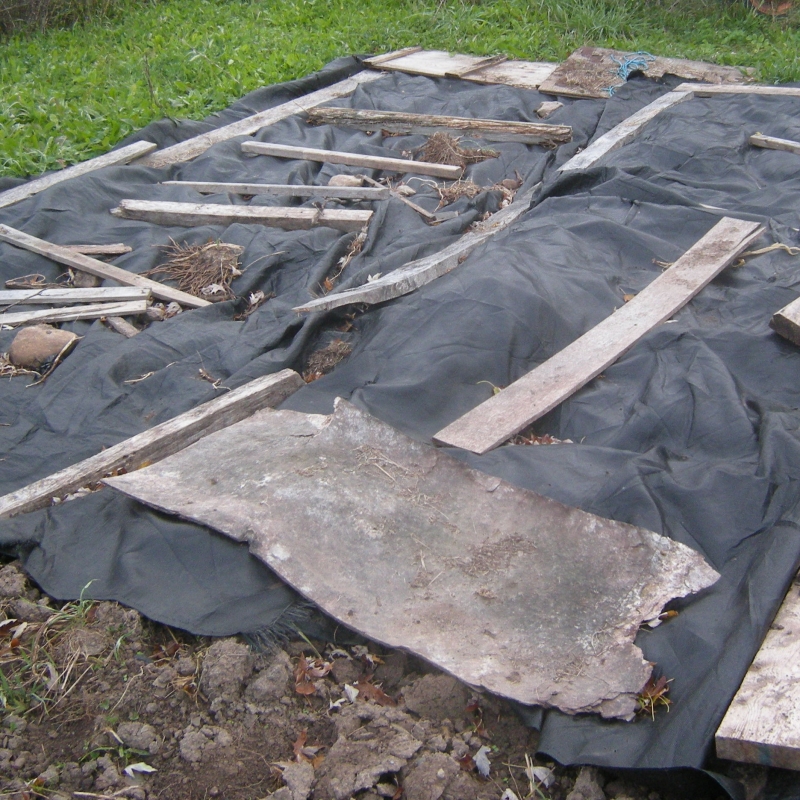
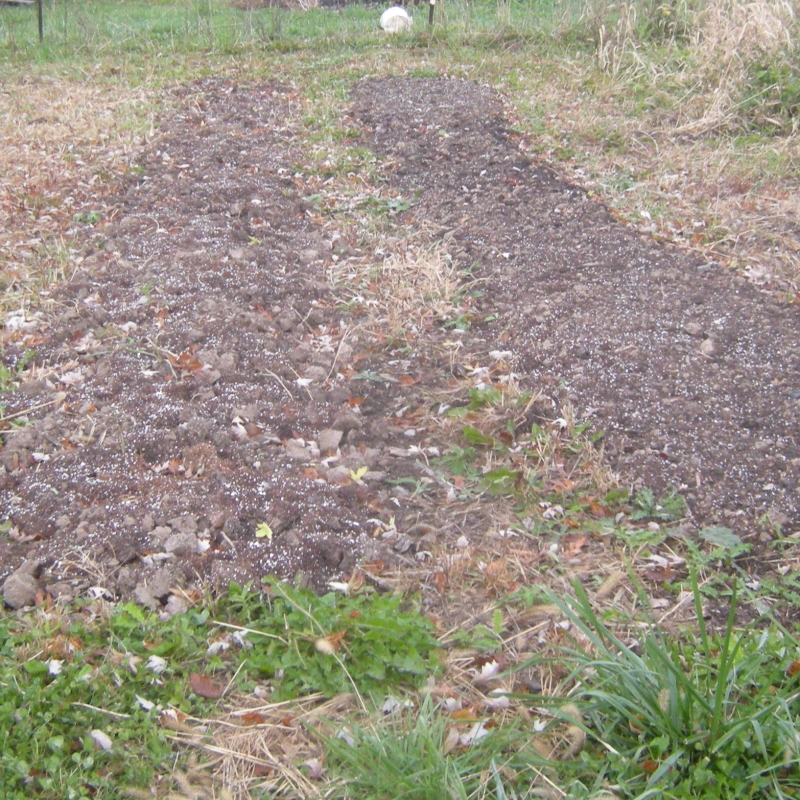
Then we might take thick tarps and cover the bed. This will kill back lots of what has been growing in this bed. It may sit like this until we are ready to plant the bed in the spring.

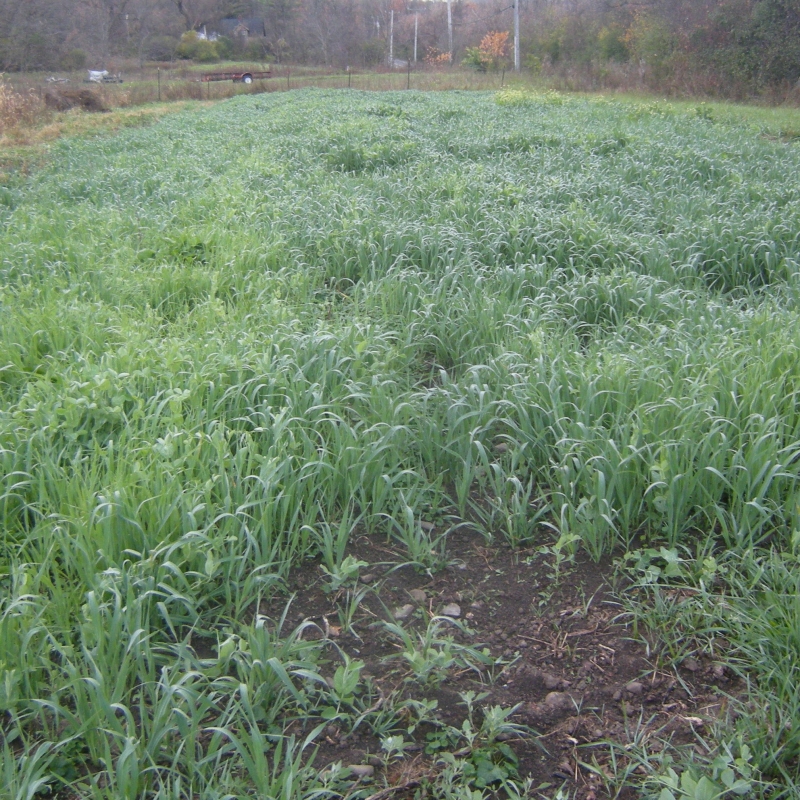
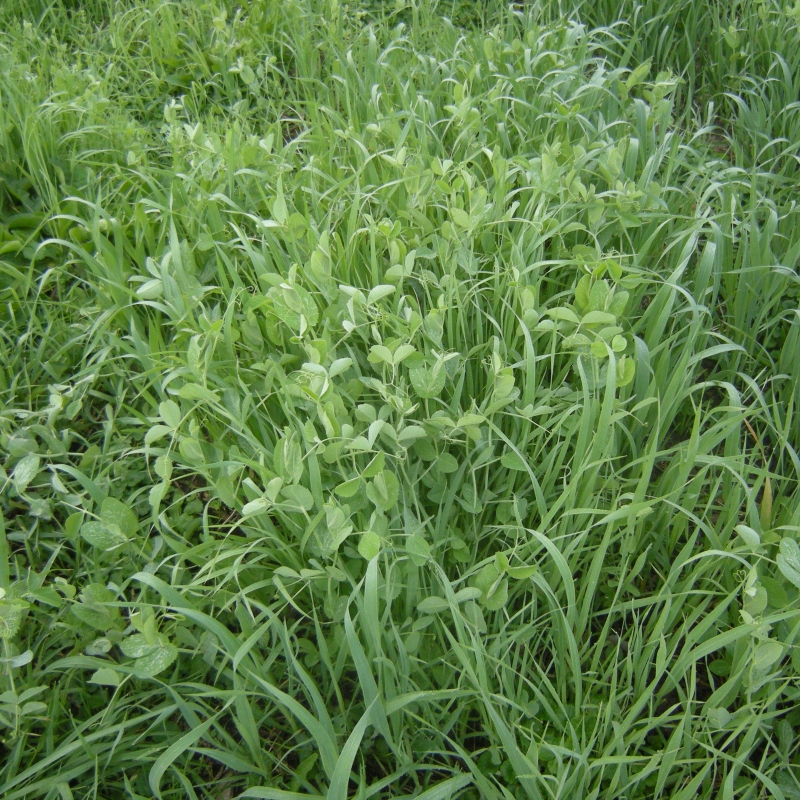
Once the weeds are cut back, we can plant a cover crop. This is some grass or grain that will grow in the bed. It will add organic matter to the soil, help hold water, and provide nutrients to the bed. Here is a large bed that we planted with oats and peas.

The oats are the grass-like plants and the peas are the legume-like plants. This cover crop grows well in the fall. In the winter it will die back and we can rake it away to plant the bed in the spring.

Finally in the spring we will add compost and minerals, and the bed will be ready to plant.

If you want more information, Maine Potato Lady has a good description about cover cropping and Fedco Seeds has a good description of various cover crops.

Rendering Tallow

NOTE – See notes at the bottom – This is hot grease. It can burn. It can clog your sink. Neither is good. I know from experience!

I recently rendered tallow – beef suet – again. I took the fat, chunked it up to fit through my meat grinder and ground it so that it looked like hamburger.

Then I put this in the crockpot. I turned the crockpot to high heat for 40 minutes just to get the fat melting. I stirred it about every 20 minutes to get the melting fat mixed with the unmelted fat.

Once it was all melted, I turned the crockpot to low and positioned the lid off-center so that any water would evaporate. I let it cook for 5-6 hours, stirring it about every hour. At first there were cracklings on the top and bottom. Once the solids were all on the bottom, then I turned the heat off.

I let it cool a little bit and then carefully poured the fat off.

These are the beef cracklings that were left over – think deep fried ground beef, edible, but not the greatest thing in the world.

At this point I could have put it jars if I wanted to use it just in cooking. However I wanted it for a salve, so I let it cool and re-rendered it. I mixed it in a pot on the stove with 1-2 quarts of water and 1 tbsp of salt. I let this simmer for about 1 hour and then cooled it all in the frig.

I did this twice scraping off the salt and debris from the bottom each time and getting rid of the water after the fat had cooled and become solid. I cut the final circle into quarters to make it easier to use. I am storing these in the refrigerator.

NOTES: This is a very hot fat. BE CAREFUL!

Everything ends up with a layer of fat – the crockpot, the bowl, the spoons, the counter. To save the sink and pipes, wipe all the items off with a paper towel while the fat is still warm, and throw the paper towels away. Otherwise you could (will) end up with a clogged drain from the congealed fat. Use hot soapy water to clean whatever has fat on it.

Again, this is very hot. You could burn yourself. BE CAREFUL!

Pig Feeder and Waterer

We have 2 devices that help keep feeding and watering the pigs neater. One is the pig feeder. The pigs learn to lift the lower lids with their snouts and then eat what feed they want. When the lid drops back down, it makes a thunk sound sort of like a loose storm door firmly banging in the wind. I hear the noise when I am nearby and think, What is that? Oh, it is just the pigs eating.

The other device is a nipple waterer. The nipple is attached to a barrel that we fill with water. The pigs put their mouth on the nipple which lets the water run out. Once they have enough water, they take their mouth off of the nipple and the water stops flowing. As long as we keep the barrel filled, it is too heavy for the pigs to tip over. So the water is more contained and the area is less messy. Having both devices attached to each other and filled keeps them both upright and where we want them to be.

A note – We have used pan style waterers which, especially as the pigs get bigger, are easy for them to tip. Pigs don’t sweat so they do like a wallow that they can roll in to cool themselves cool. And dumping their waterer to create a wallow is a normal behavior for them. We prefer to control where the water goes and how much goes there. So the nipple waterer helps to keep the water contained.

2024 Thanksgiving Turkey Options

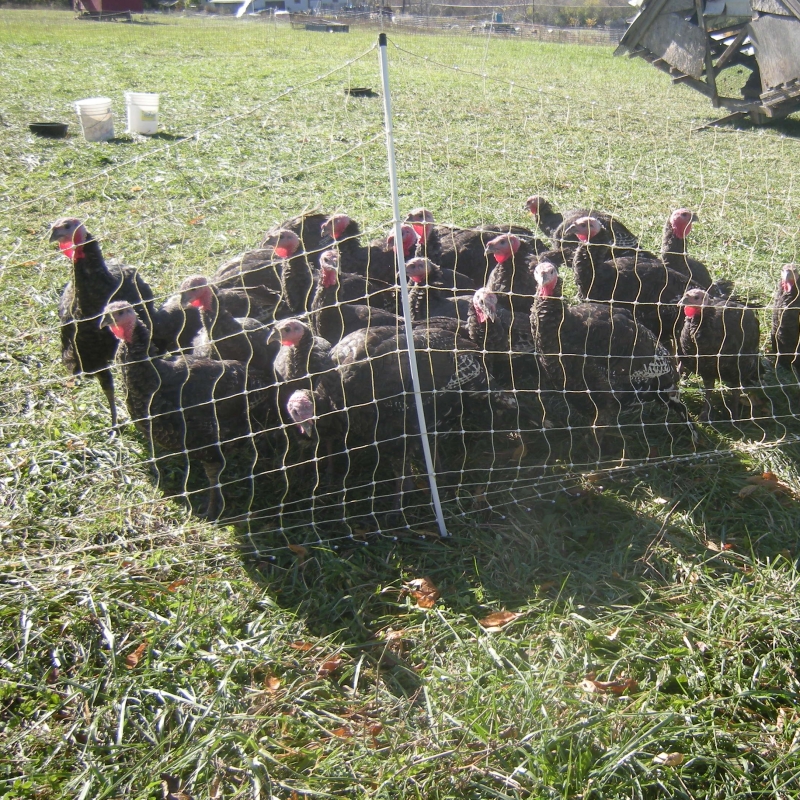
We are not raising turkeys this year. Here are three good choices from ones I knew about and from this 2023 syracuse.com article.

All of the ones listed are raised outdoors probably in a Salatin-style pen. The turkeys are probably broad-breasted whites. Twin Brooks and Hillside are fed non-GMO local grains. LongHorn Ranch is non-GMO or organic. All of these places have practices similar to ours. We would be comfortable purchasing from any of them. They all do things well.

Twin Brooks – Fresh option, pick up from farm
From their website – Turkey FRESH available for pick up Tuesday, November 26 afternoon or evening at $7/lb with a $50 deposit per order.
Order via twinbrook1902@gmail.com.
Call 315-380-8001 or 315-672-5741 for information.
Pay deposit/final bill with cash, check, or Venmo, no credit cards.

Contact info:
Twin Brook Camillus Farm
5908 Bennets Corners Rd.
Camillus, NY 13031
twinbrook1902@gmail.com
FB: twin-brook-camillus-farm
www.twinbrook-farm.com
Hillside Farms – Frozen option, several pick up locations
Will be harvested second and third week in November and will be frozen by the time they are picked up. Order via email – jdnewton07@gmail.com
Pick up at Truxton or Regional Market; $5/lb.

Hillside Farms
Truxton, NY
jdnewton07@gmail.com
instagram @_hillside.farms
FB – https://www.facebook.com/jacob.newton.756
Longhorn Ranch – Frozen option, also has meals and turkey parts, several pickup locations
Turkeys, parts, and meals are frozen. Turkey $5/lb., prices for other items listed on order form.
Pick up in Clay, Fayetteville or at Regional Market.
You can access their order form here.

Longhorn Ranch
Bernards Bay, NY
www.wwlonghornranch.com/
info@wwlonghornranch.com
Syracuse Cooperative Market with locations on Kensington Rd. and in Salt City Market
Details about turkeys on their Facebook Page

Happy turkey shopping!


Crate of Meat – Beef or Pork

A quarter or half a cow or pig may be too much meat for you or too expensive. Enter 25 lb ish packages of beef or pork or a (milk) crate of meat. For ~ $250 we can put together about 25 lb of beef. OR for ~ $200-220 we can put together about 25 lb of pork.

Currently a crate of beef would include:

  • 1 Chuck roast
  • 1 Shaved steak pkg
  • 1 Stew meat pkg
  • 1 rib steak – 2 steaks/pkg
  • Rump roast or sirloin tip roast
  • Chuck steak or sirloin steak – 1 steak/pkg
  • Meaty shank soup bone or short ribs
  • T-bone or Porterhouse steak – 2 steaks/pkg
  • 8 tubes of ground beef, ~1 lb. each

A crate of pork would include:

  • 2 roasts – butt, loin or shoulder
  • 3 sausages ~1 lb. each – breakfast, hot or sweet Italian
  • 2 pkg smoked or unsmoked pork chops
  • 2 pkg bacon or Canadian bacon
  • 2 smoked ham slices
  • 2 tubes of ground pork, ~1 lb. each
  • 1 unsmoked or smoked ham roasts

Grapes

Over the years we have observed wild grapes growing on our property. So if wild ones will grow, then perhaps a traditional cultivated one will also grow. We chose one and planted it.

Grapes like support, so we used a cattle panel as a trellis.

It is fun to see how tendrils grab the wire and support the cane as it grows. You can see a tendril on the top wire and one on the right hand wire.

Clusters of fruit need two years of plant growth – fruit grows on a cane from last year. This year’s cane also comes off of last year’s and then fruit will come from that new cane next year. Pruning is important to shape the plant and manage its fruiting.

We are still learning how to care for and prune our grape plants. We will have grapes for ourselves this year, but not enough to sell.

Organ Meats and Other Odd Meat Parts

When you think of eating meat, you think of things like roasts, steaks, and ground meat. But if you think of nose to tail eating, there are lots of other edible parts – organ meat, bones, feet, . I have said for a long time if we had the right people/cultures in the same room, nothing from an animal would be wasted. Yes, someone probably eats…(that).

If you think of organ meat, these items come to mind (clockwise, L to R) – (beef) tongue, (beef) kidney, (lamb) heart, (chicken) hearts, (chicken) livers, (pork) liver. Tongue is the sweetest of the bunch, next heart, then liver, and finally kidneys.

Size of the organ meat will vary with the size of the animal from beef, to pork, to lamb, down to chicken. So you get many chicken livers in 1 lb but only part of beef, pork or lamb liver in 1 lb. The rest of the organs are packaged individually except for pork heart and tongue which are packaged together.

Here is a post I wrote a few years ago for ways to use organ meat. Also check out the comments. We enjoy these organ meats and try to have one of them several times a month.

Other odd meat parts would include feet and legs and tails. (Clockwise, L to R) We have oxtails, chicken feet, and pig feet. Going up the leg we get (beef) meaty shank soupbones and (pork) ham hocks. (Not pictured) we also get pork neck bones and bags of (pork, beef, or lamb) bones. (We leave chicken necks attached to our chickens.) All these items make good broth and add nice flavor to dishes.

The USDA limits what things can come back from the butcher, so we get nothing from the intestinal tract – no esophagus, stomach, small or large intestines. However, there are cultures that know how to clean these things and use them either as a casing or as part of the meal. While I can’t supply these things, it doesn’t mean that with the right preparation they can’t be used.

Want to see what we have? Check out our Available Items or our Order form.

Zucchini Pizzas from Long Slices

In 2020 we posted how to make zucchini pizzas using large rounds of zucchini. Recently we made zucchini pizza again cutting the zucchini lengthwise, similar to how we cut them for zucchini lasagna.

Next we baked them at 400F for 10 minutes.

Then we covered them with tomato sauce and lots of cheese and baked them until the cheese was melted and the zucchini was tender. The thinner ones took about 10-15 min. and the thicker ones 15-20 min.

Finally we cut them in half and enjoyed our supper. Zucchini pizza from long slices!

75 Round Bales

Recently we were able to cut and bale about 15 acres of hay belonging to a friend in the LaFayette area. We took our mowing, tedding and raking equipment to the field. Then we cut it and tedded it to help it dry. Finally we put it into windrows so that another friend could round bale it for us.

The hay was loaded onto a tractor trailer, 24 bales at a time, and hauled to the farm.

Aren’t rainbows are fun to see? No, the hay didn’t get wet; the rain was somewhere else.

The hay was delivered to the farm and then it had to be moved into the barn.

The initial goal was to get the hay in the barn and under cover. Over time it will be stacked more neatly for when we need to use it in the winter.

A round bale is about the same amount of hay as 12-15 small bales.

We repeated the process two times. Finally the tractor trailer is ready to go back to its home.

We are thankful for the ability to get hay, for a dry stretch to be able to cut and dry hay, and for friends who help us with the process.

First Cutting 2024

Recently we got our first cutting of hay for 2024 – 170 bales. We have described the process here, here, and, really well, here.

First you need a hay field. To grow, hay (grass/pasture) needs sun, rain, and heat. We have had all these things this spring. Long about June 1st we look to see if the grass is tall enough and then start watching for a block of dry days.

That block came this past week and weekend. So the hay got mowed and then tedded. The tedder is pulled by the tractor. It flips the hay into the air so that the upper dry side gets put on the ground and the lower wet side can be up and can dry out. If you have a tedder, this will happen once or twice.

The field will look something like this. Then the hay will get raked into rows. Finally the baler will get pulled and the hay will be baled. Ideally it will also have a kicker that will kick the hay bales onto the wagon.

Ideally doesn’t always happen. 🙂 The kicker wasn’t sliding correctly, so we ended up putting the bales right on the ground. And the knotter (for the strings that go around the bales) wasn’t always knotting correctly. So the hay would get spread out and wouldn’t be formed into a bale. And then the race was on to get the hay in the barn before the rain. But multi-generational help got the job done!

This year’s first cutting is now in the barn, a start of what we will need for the cows and sheep this winter.